martes, 31 de julio de 2018

Creative Bird Feeder Materials & How-To  Amazing tips

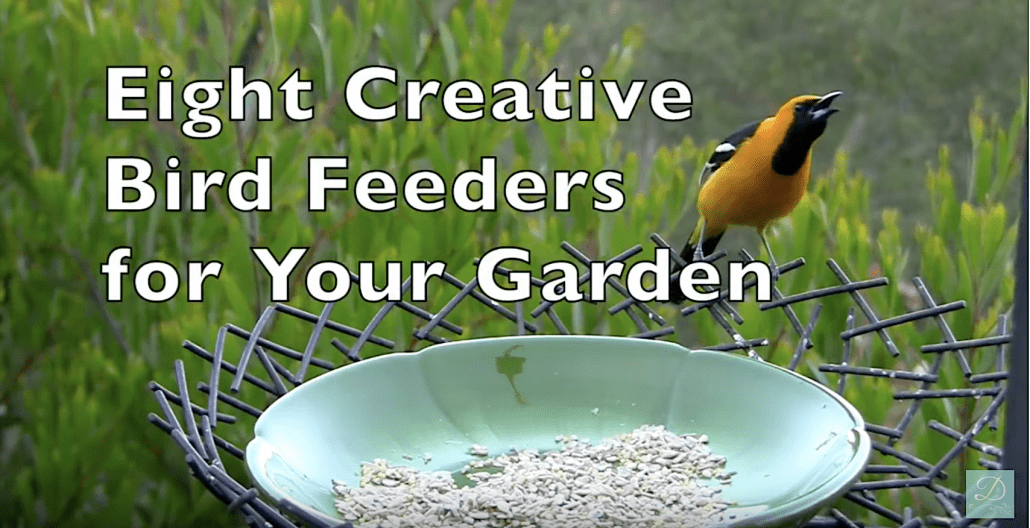
If you’d like to make lovely bird feeders similar to those in my video, Eight Creative Bird Feeders for Your Garden, you’ll find materials, suggestions and how-to here.

Depending on the time of year, I’ll have as many as 20 birds of a dozen different species at feeders I’ve positioned outside my office, kitchen and dining room windows. I’m in the foothills northeast of San Diego where native plants such as oaks and fan palms provide nesting sites. The second-floor deck where most of my feeders are located is adjacent to trees with limbs for perching and hiding, is high enough to be safe from cats, and isn’t easy for squirrels or nocturnal varmints to access.

It’s helpful to have:
— A dozen rustproof heavy-duty steel S-hooks, each about 3 inches long
— About 15 feet of soft, flexible, rustproof wire. 
— A 6-foot-tall wrought-iron free-standing plant stand designed for hanging baskets.

If you’ll be hanging feeders from your home’s eaves, you’ll also need a hammer and nails, several feet of chain, and a stepladder.

Optional: Spray-paint for metal. I paint my repurposed metal and wire feeders with Rust-Oleum so they’re all the same color (to match my home’s trim).

Essential: Keep them clean! It’s better to not put food out than to let feeders get dirty. Feeding birds is messy. Every evening, I hose the area, bring in the feeders, and clean them with hot water and dish soap. I don’t let food come into contact with bird droppings, which can spread diseases. And if I see a sick bird at a feeder, I stop putting out food for several days.
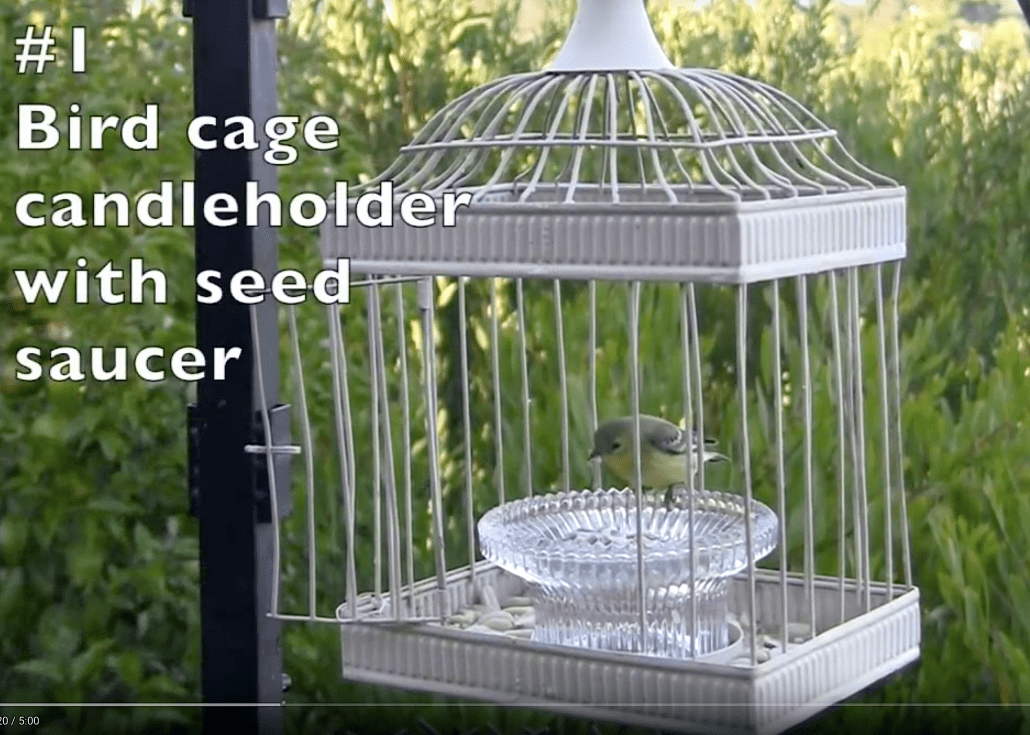
I found this ornamental bird cage and glass dish—both candleholders—at a thrift store. About $6 total. The goldfinch was gratis.
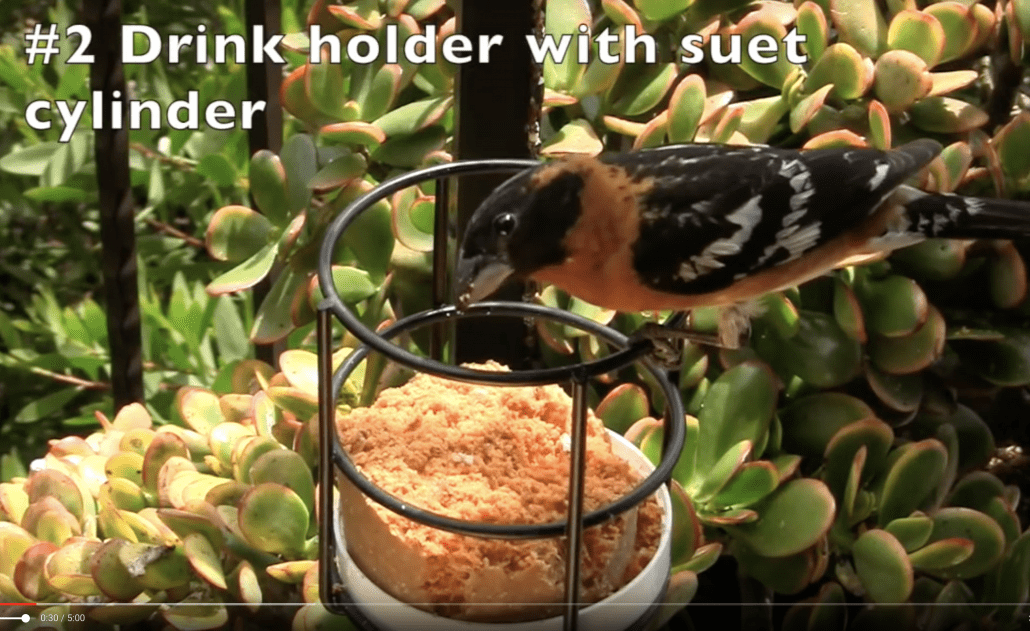
Metal drink holders (aka “beverage stakes”) are designed to go next to lawn chairs to hold bottles or soda cans. They’re perfect for suet cylinders, providing you set each in a plastic lid that keeps the suet from crumbling away. (I give my birds suet year-round, even though I live in a mild climate, because the extra fat and protein encourages brood production. It also attracts woodpeckers, grosbeaks and jays.) Each holder has a long vertical bar for staking into the ground. I placed this one, being enjoyed by a male grosbeak, in the same 5-gallon plant container shown below.
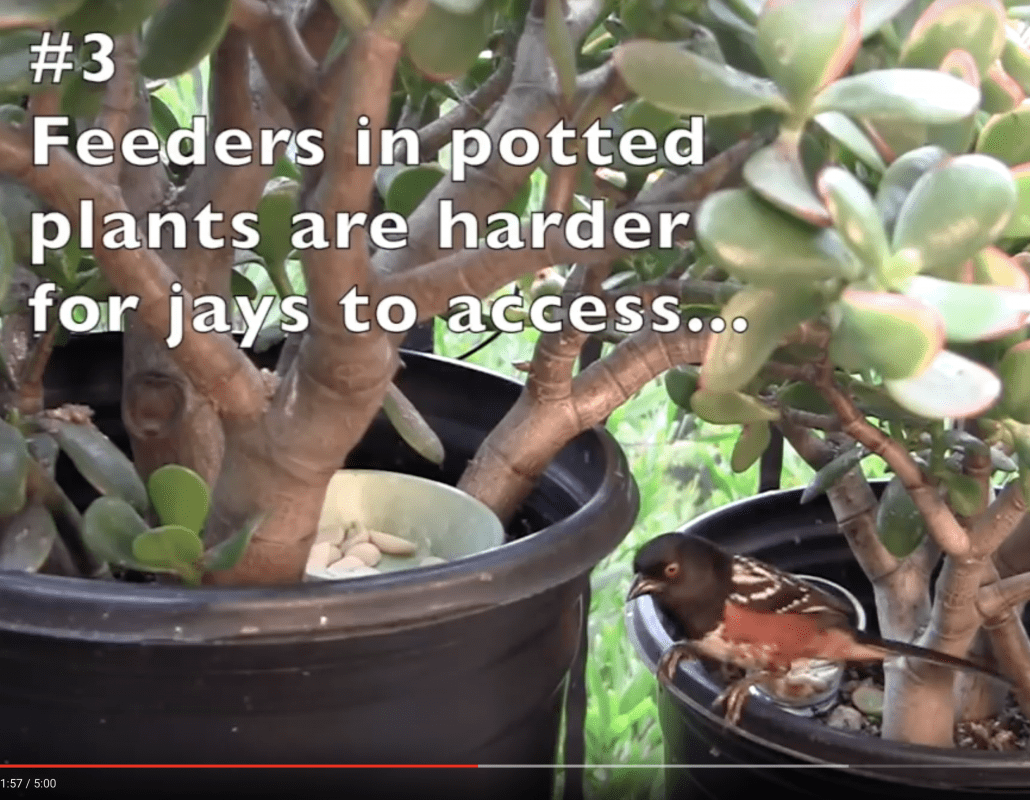
Small dishes and votive cups are handy for peanuts and seeds. But once they get wet, birds won’t eat out of them, so clean and refill them daily. The bird is a spotted towhee.
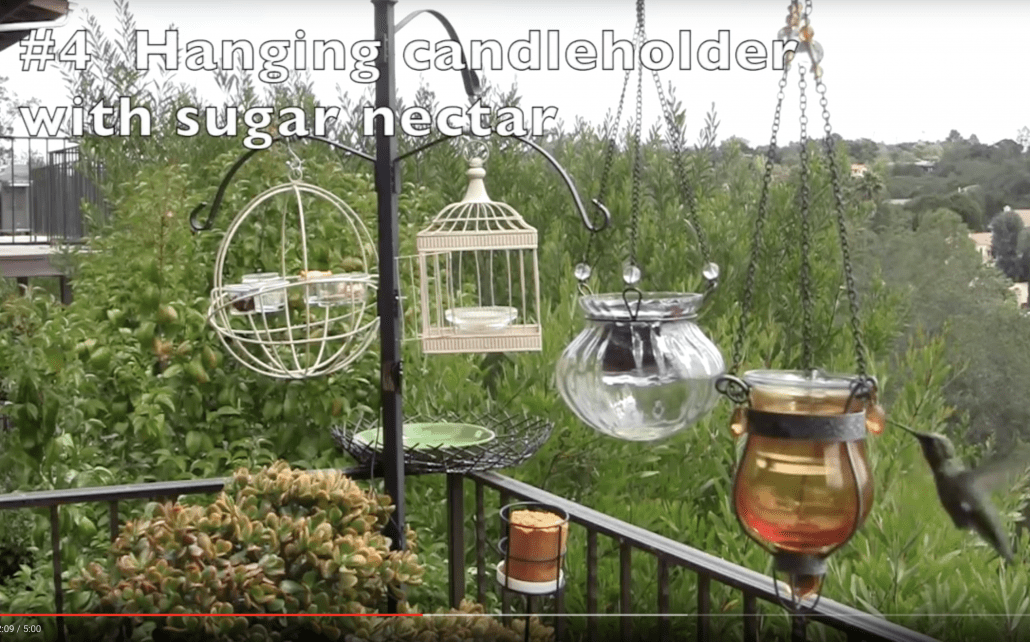
The hanging candleholders (“tea light lanterns”) are available at Cost Plus World Market and Amazon. In them are 2.5-inch-diameter glass tea light holders (“votive holders”) that contain grape jelly and sugar water. You don’t want to fill the entire candleholder with food because it’s too much, will likely get wet or go to waste, and is hard to clean. You also may have to unhook the feeders to bring them inside for cleaning, which means getting out a stepladder. Tea light holders, on the other hand, can easily be removed, washed and dropped back into the candleholders. Even though they’re stable enough their contents won’t splash onto birds, like the Anna’s hummingbird at lower right, it’s best not fill them to the brim.
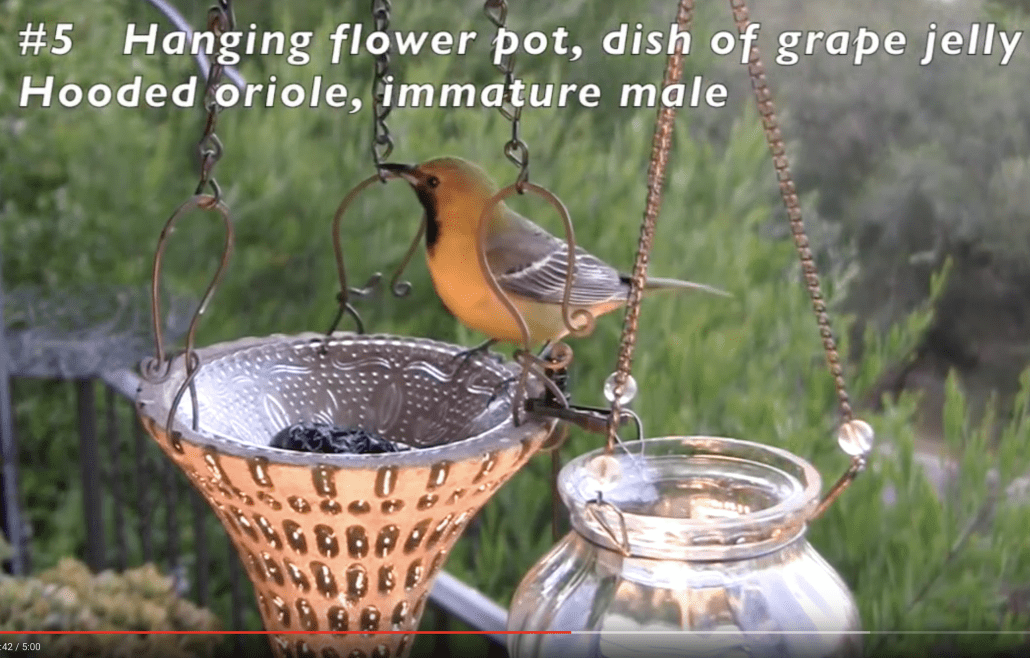
The flower pot that the oriole is sitting on is by Fallbrook, CA artist-potter Alicia Iraclides, who also fashions the lovely copper loops that her pots hang from. The glass dish came from a thrift store or possibly my kitchen cupboard. Regardless, at 5 inches in diameter, it’s a perfect fit. It doesn’t slide around, is shallow enough (1-1/2 inches) for birds to easily access, yet also is deep and wide enough to hold the right amount of food (1/4 cup of grape jelly or 1/2 cup of seed mix).
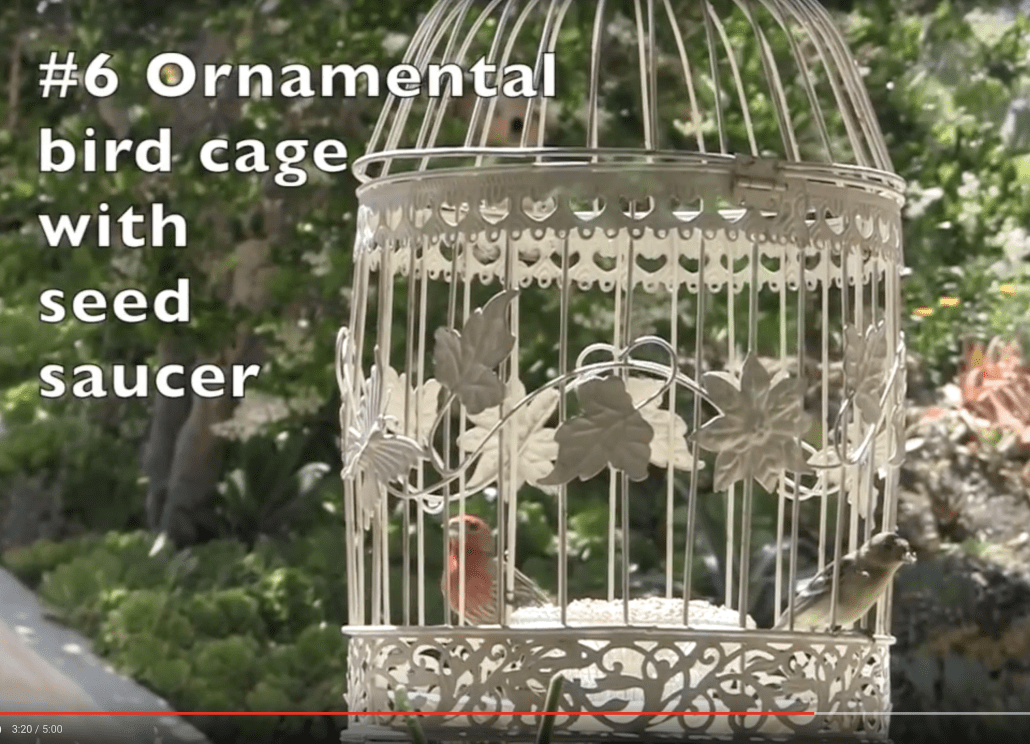
This 14-inch diameter metal bird cage came from Home Goods—a seasonal item. Here’s a similar one on Amazon. Also this “lantern.” The bars are about an inch apart, which is perfect for letting in small birds (like finches) and keeping out large ones (like jays and doves). If bars in your ornamental bird cage/bird feeder are closer together, prop the door open or bend and spread the wires so that little birds can come and go. I lined the cage with a paper towel and placed a glass saucer atop it, full of seed mix. This also helps elevate the birds for better viewing while they’re eating.
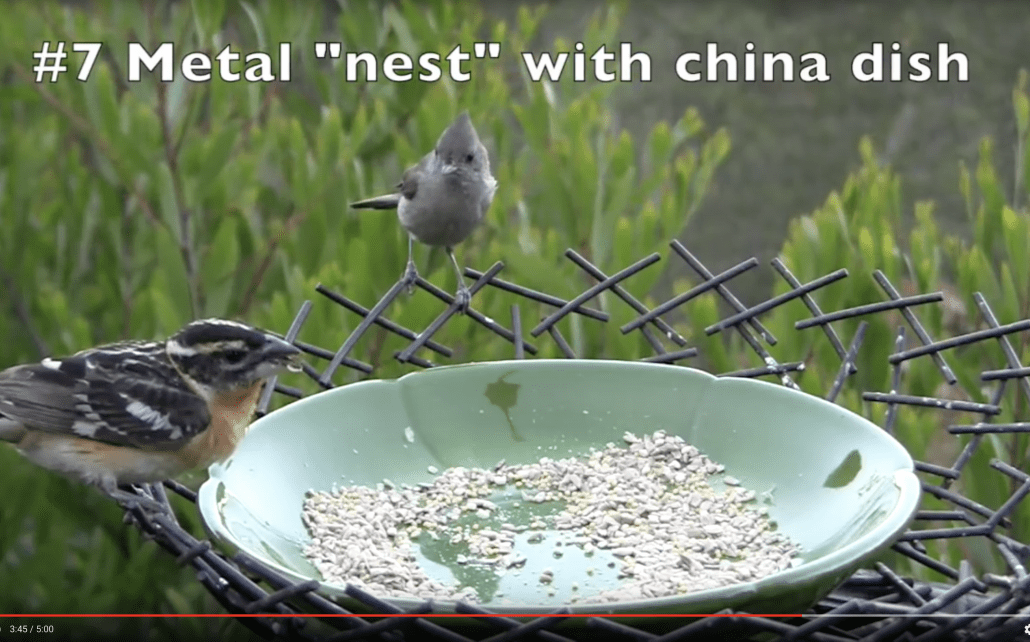
Both this stylized metal “nest” (16 inches in diameter) and bowl-like platter (10 inches) were thrift-store finds. I used coated, rustproof wire to secure the nest to the corner of the metal deck railing. I decided not to spray-paint it beige because it’s fine the same color of the railing. In the dish is Wild Birds Unlimited’s No Mess Blend which includes millet (which doves and quail like) and sunflower and peanut bits that most other birds enjoy. I also buy raw peanuts and sunflower seeds in bulk at Sprouts. Jays and titmice eat peanuts; finches prefer sunflower seeds—and nyger, but that’s too messy, perishable and expensive. There’s a grosbeak at left and oak titmouse at top.
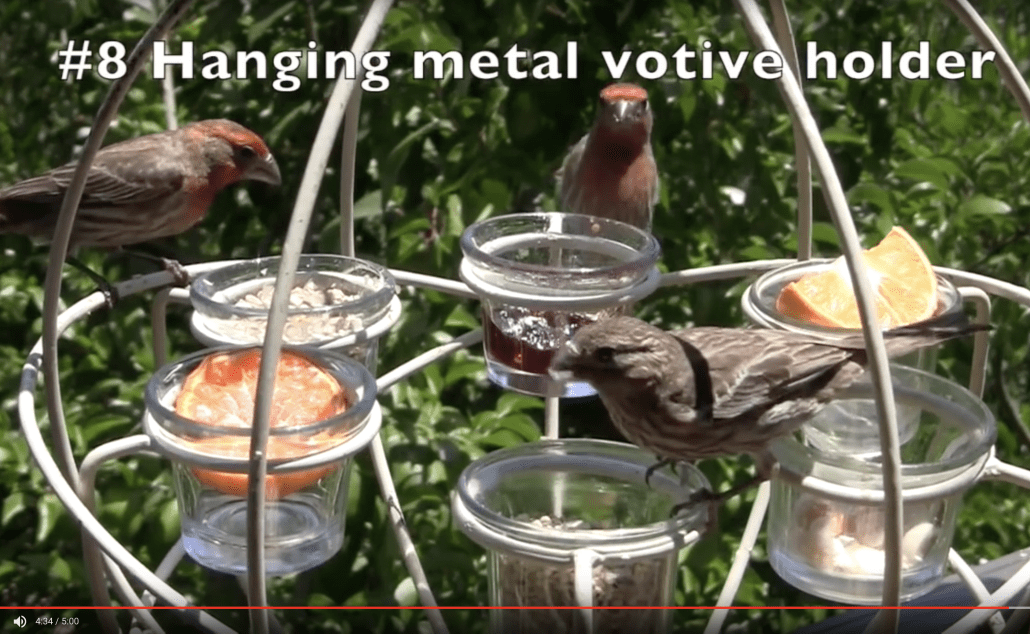
This spherical candleholder came from a second-hand shop that specializes in utilitarian antiques. It originally was black, so I spray-painted it beige. Items like this are fun to hunt for and not difficult to find (hint: they’re often hanging from the ceiling, so look up). The best ones have an open design that lets you easily view birds that visit. Yes, they’ll use feeders made of wood, plastic and other non-transparent materials, but isn’t seeing these flitting, fleeting creatures what birdwatching is all about?

Related info on this site:

On my YouTube channel, check out my playlist: Debra’s Bird Feeders.
 

The post Creative Bird Feeder Materials & How-To  appeared first on Succulents and Succulent Garden Design | Debra Lee Baldwin.


from Succulents and Succulent Garden Design | Debra Lee Baldwin https://ift.tt/2LDWFr7
via IFTTT

lunes, 30 de julio de 2018

DIY Succulent Windowsill Pots Amazing tips

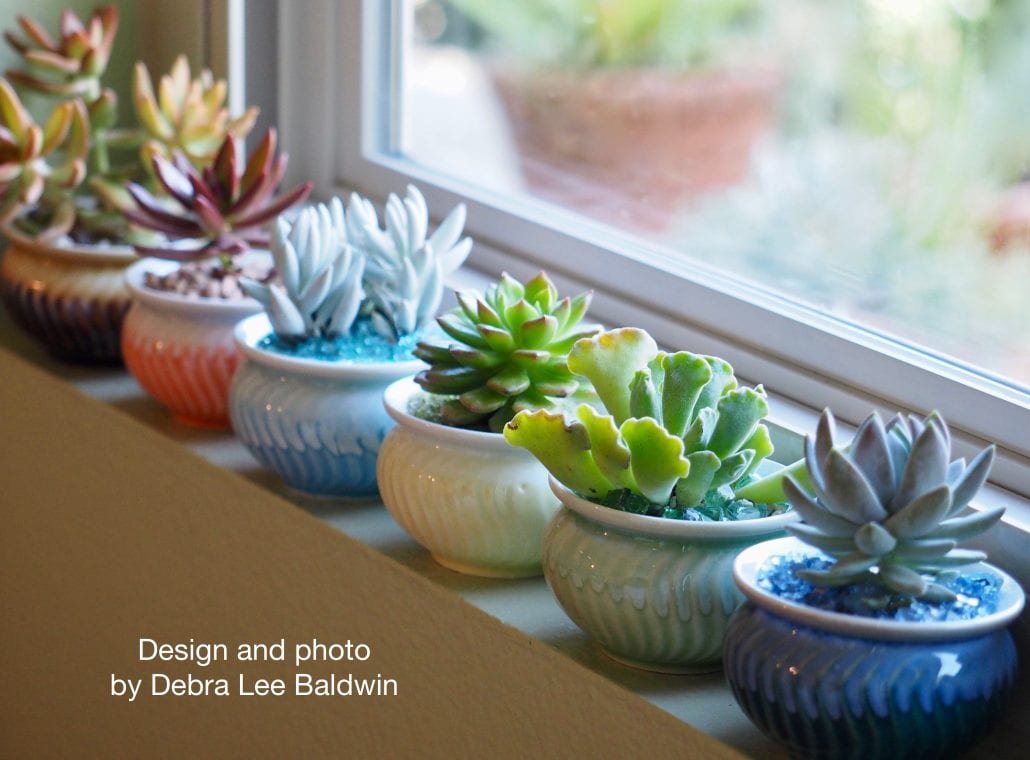
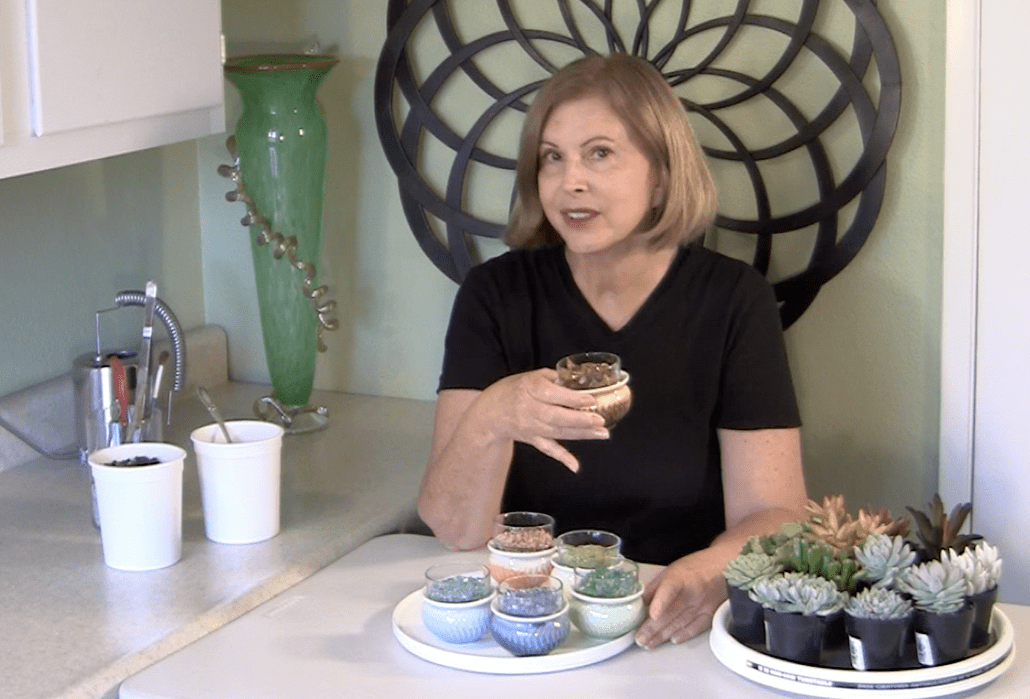
In my DIY Succulent Windowsill Pots (here and in the video), I show you how to make a quick, colorful succulent windowsill garden. Sunbathing helps succulents maintain their symmetry and color, and whenever you look out your window or work at a countertop or sink nearby, you’ll see and enjoy them.

My windowsill succulents

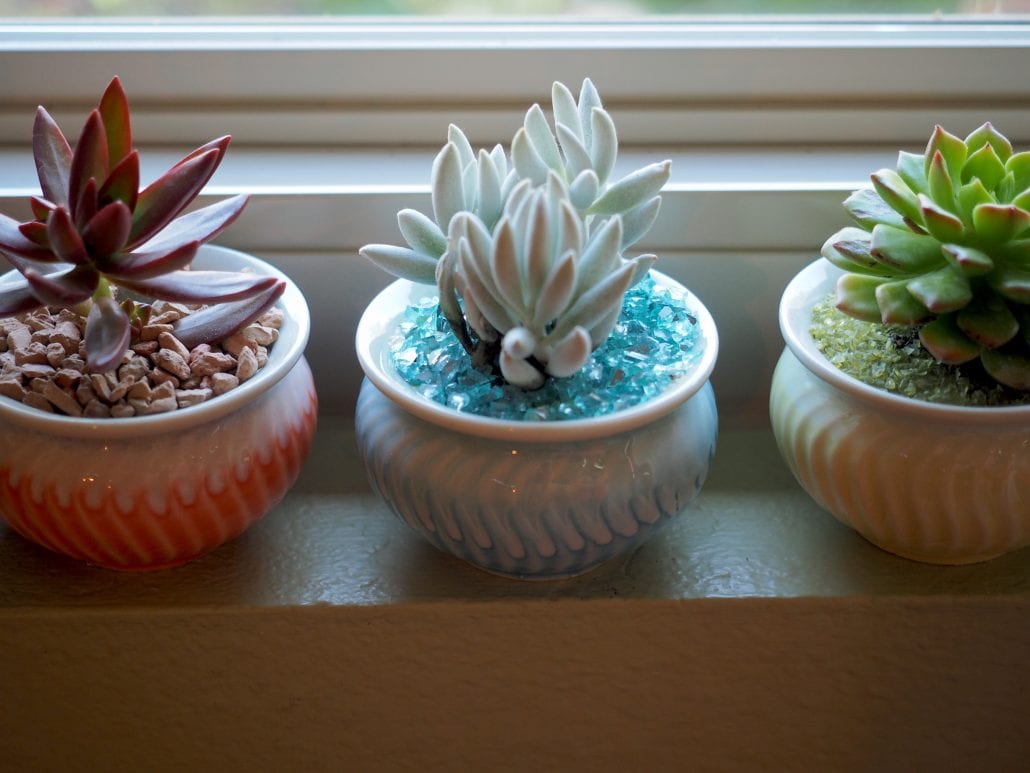
These six pots, each 3-inches in diameter, come as a set on Amazon (about $16). Their rainbow of colors makes them fun and easy to combine with succulents. I included crushed glass topdressings in several colors because glass and sunlight are made for each other…just like sun and succulents.

This set of six 3-inch ceramic pots are suited to any windowsill, but any similarly sized containers will do.

Materials:

Six 3-inch pots
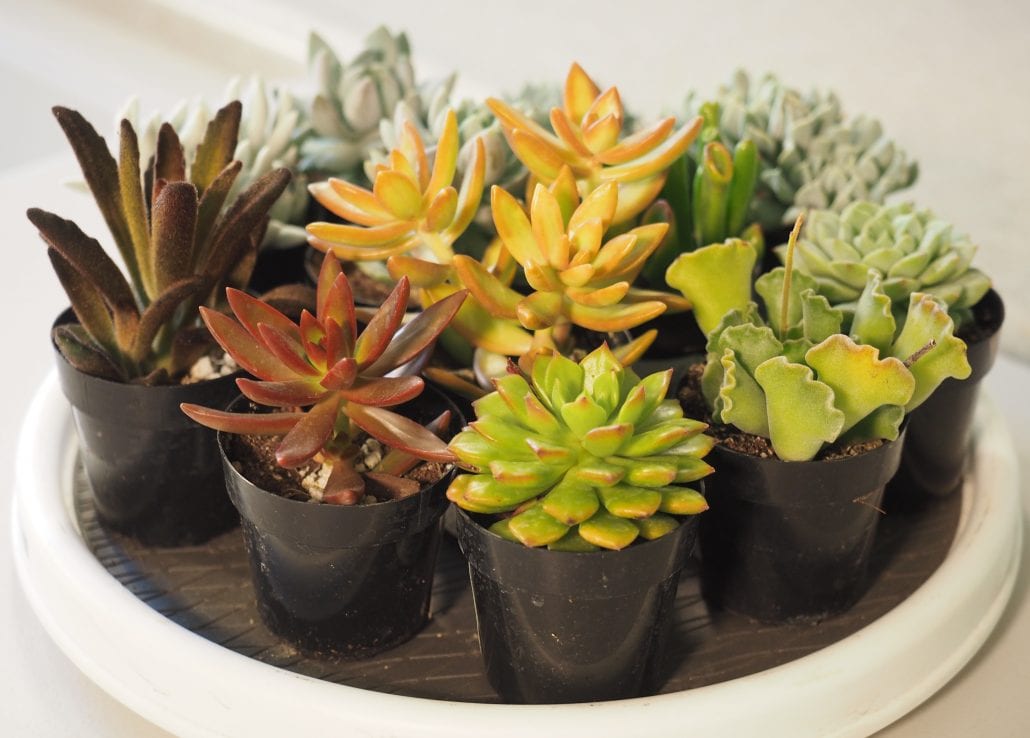
Six succulents in 2-inch nursery pots. I chose Adromischus cristatus, Sedeveria ‘Lilac Mist’, Sedeveria ‘Letizia’, Senecio haworthii, Sedum nussbaumerianum, and Sedum adolphi.

Pumice or potting soil (“cactus mix”) to finish filling the pots
White or neutral-colored sand (but not beach sand—too salty), available at craft stores and online.
Window screen or paper towels cut in six 2-inch squares (optional)
Crushed glass topdressing (optional), available from craft stores, floral suppliers and online.

Method:

Cover drain hole with a bit of window screen or paper towel so soil doesn’t fall out.
Gently slide the plant out of its nursery pot and place in new pot.
Remove 1/4 to 1/2 inch of soil from top or bottom so root ball stays below the rim
Spoon pumice or potting soil between rootball and pot.
Tap the pot with your hand and gently press down on the soil with your fingertips.
Add a layer of sand to cover pumice and soil. The sand also will fill gaps and keep the glass topdressing’s color true.
Add topdressing. I chose colors that echo the glaze on the pots, but fewer or just one color also look good.

Succulent windowsill pots

Care:

Water lightly and infrequently—1/4 to 1/2 cup weekly in summer, less in winter. Aim to keep soil barely moist, never soggy.
If your windowsill might be damaged by moisture, move the pots to the sink when watering.
If succulents stretch or flatten, they probably need more light. However, the sun’s ultraviolet rays, when magnified by untreated window glass, can burn plant leaves. If this is a concern, add a sheer curtain or move the plants farther from the glass.
Keep in mind that south-facing windows typically get the most sun and north-facing the least.
It’s normal for succulents to get leggy over time. After six to eight months or when you tire of looking at stems with growth only on the tips, take cuttings and replant.

Be sure to see my DIY video ~

Watch my short DIY Windowsill Succulents on my YouTube channel

Related info on this site:

Succulent Basics, Must-Do’s and FAQs

Here are the essentials for growing succulents successfully: water, light, soil, fertilizer and more. If all this is new to you… [Continue reading]

On my YouTube channel: 

Create a Colorful Succulent Terrarium

The post DIY Succulent Windowsill Pots appeared first on Succulents and Succulent Garden Design | Debra Lee Baldwin.


from Succulents and Succulent Garden Design | Debra Lee Baldwin https://ift.tt/2O0fBgD
via IFTTT
sábado, 21 de julio de 2018

Jim Gardner’s Succulent Showcase in Palos Verdes Amazing tips

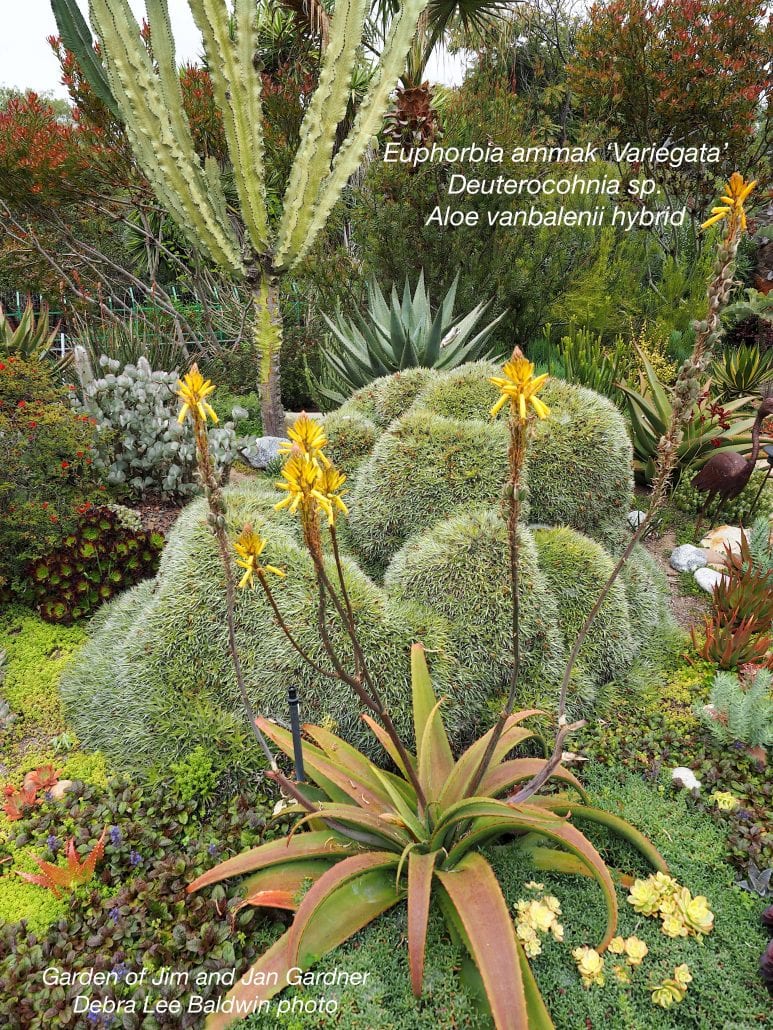
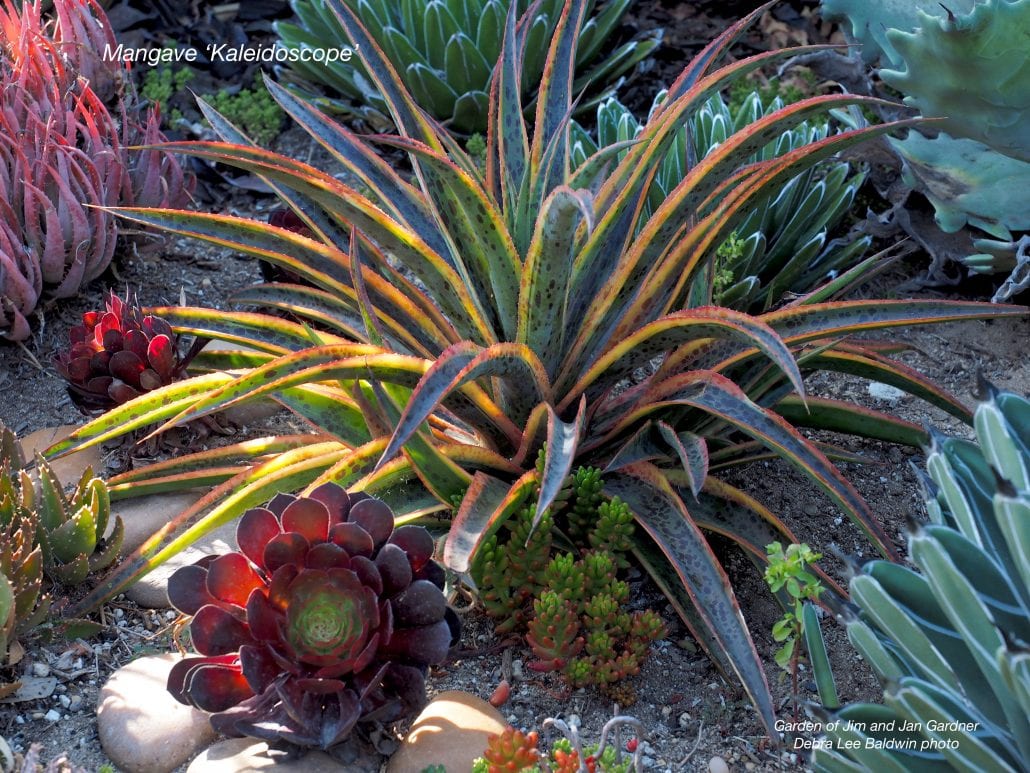
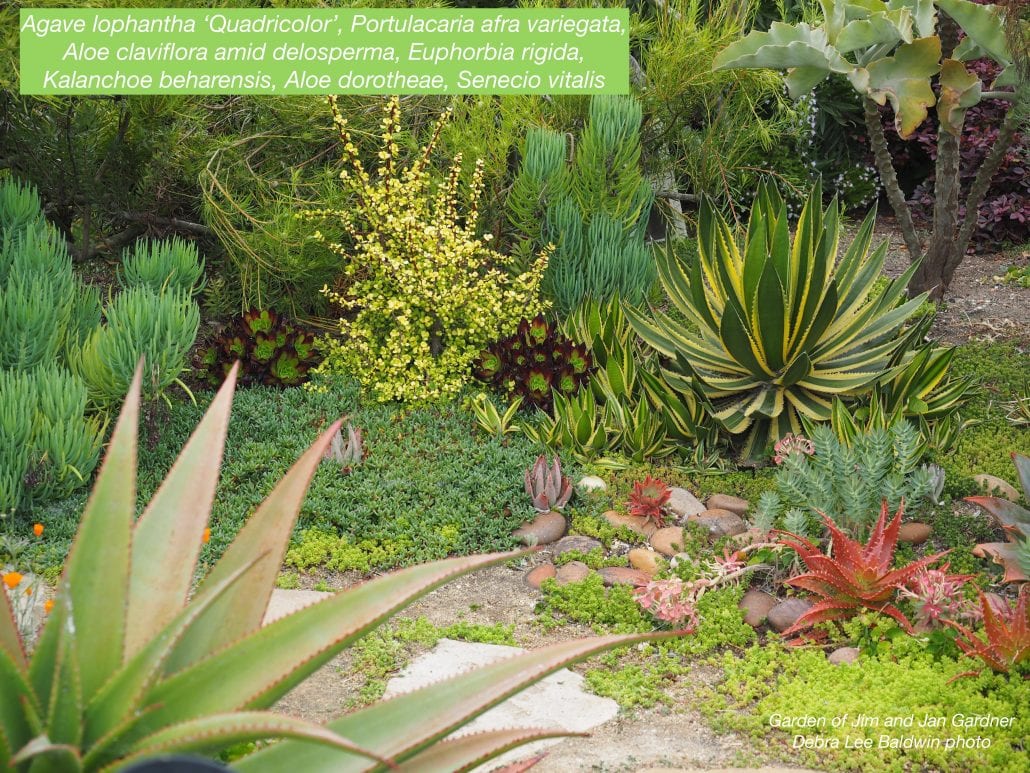
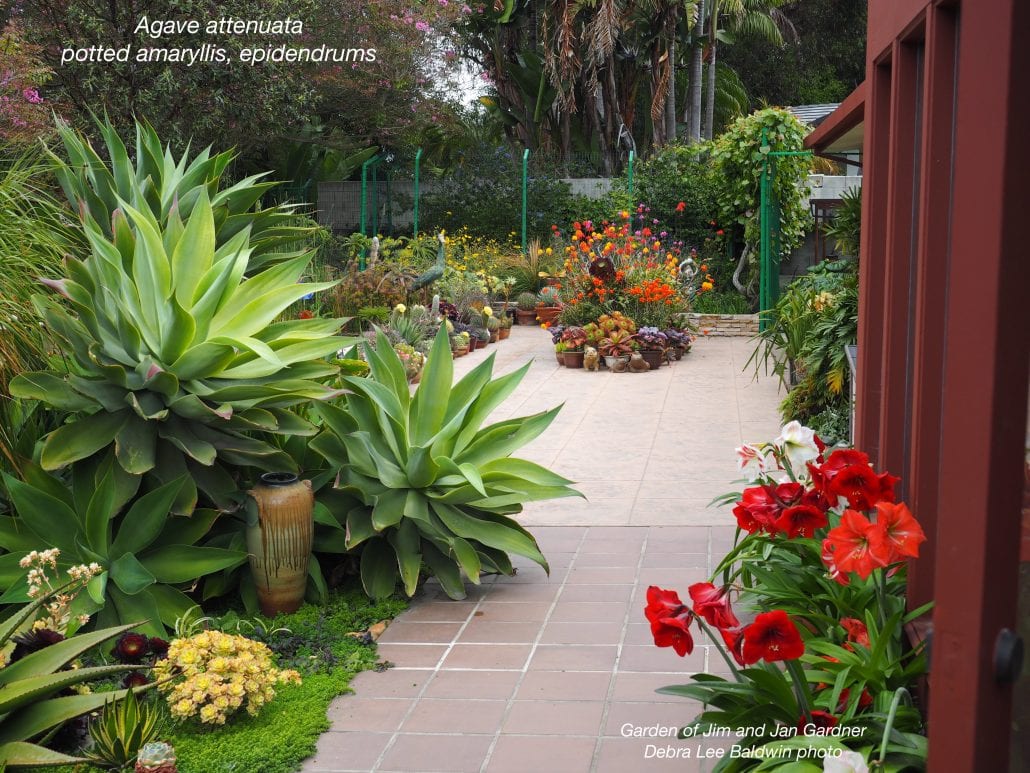
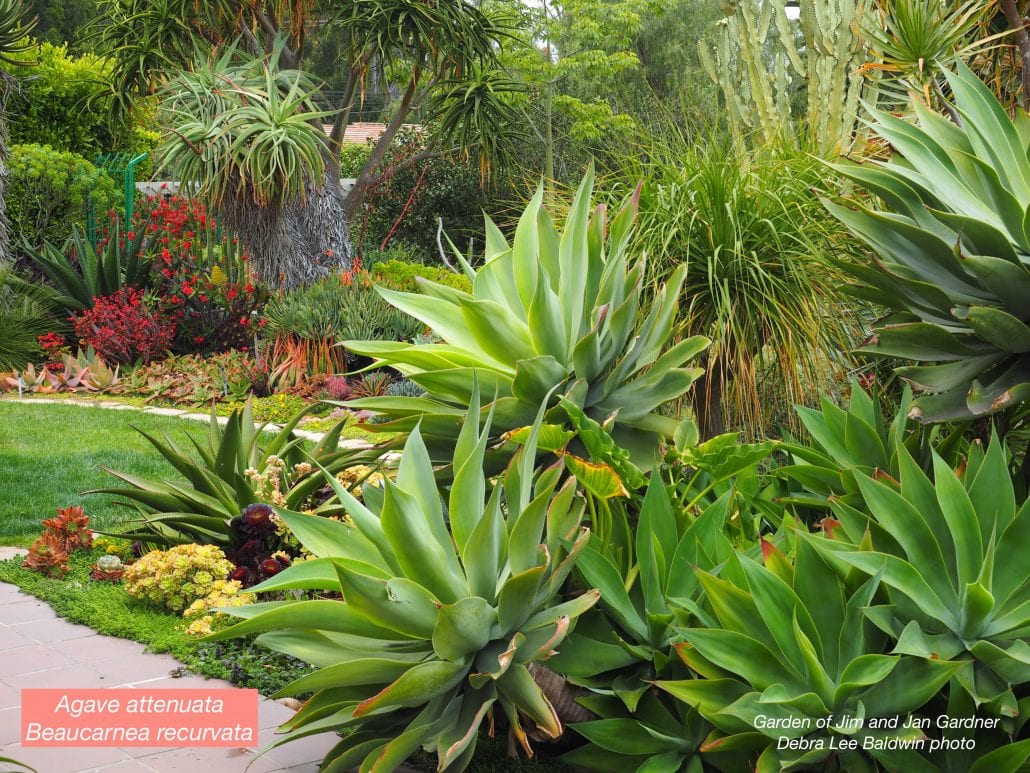
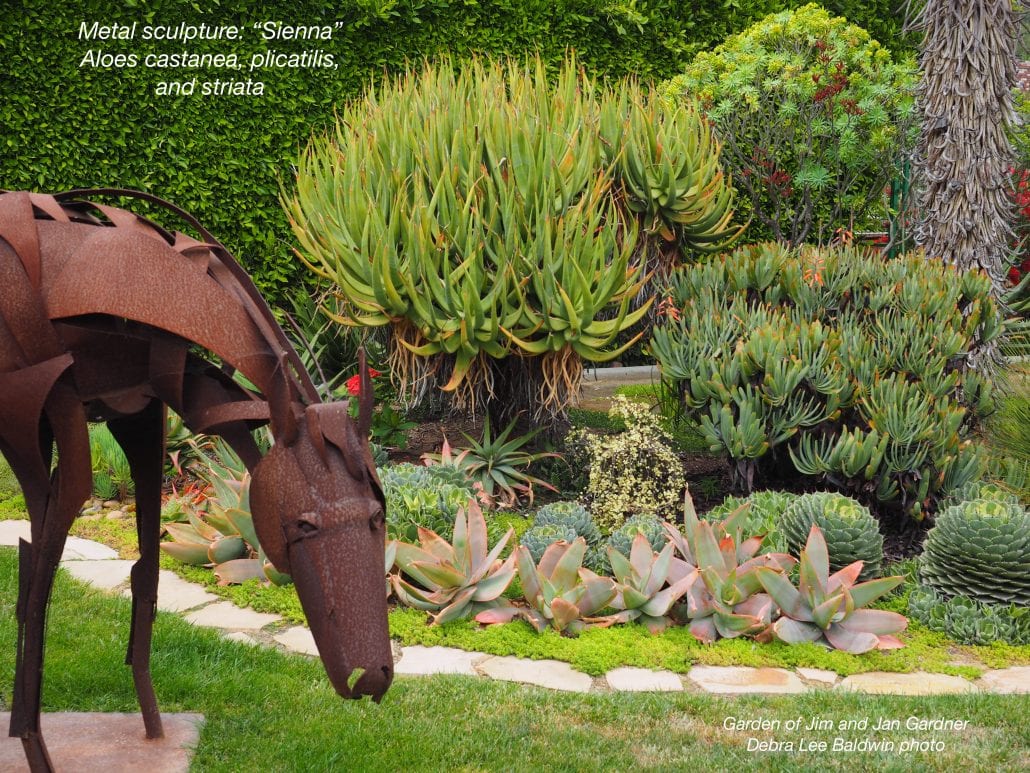
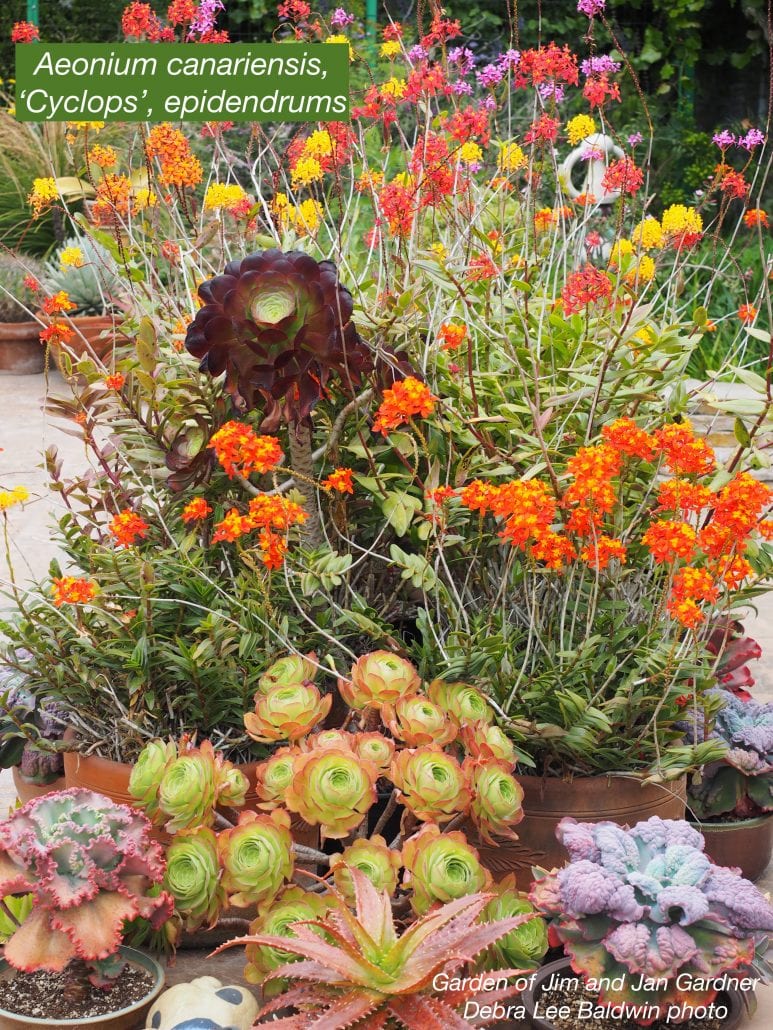
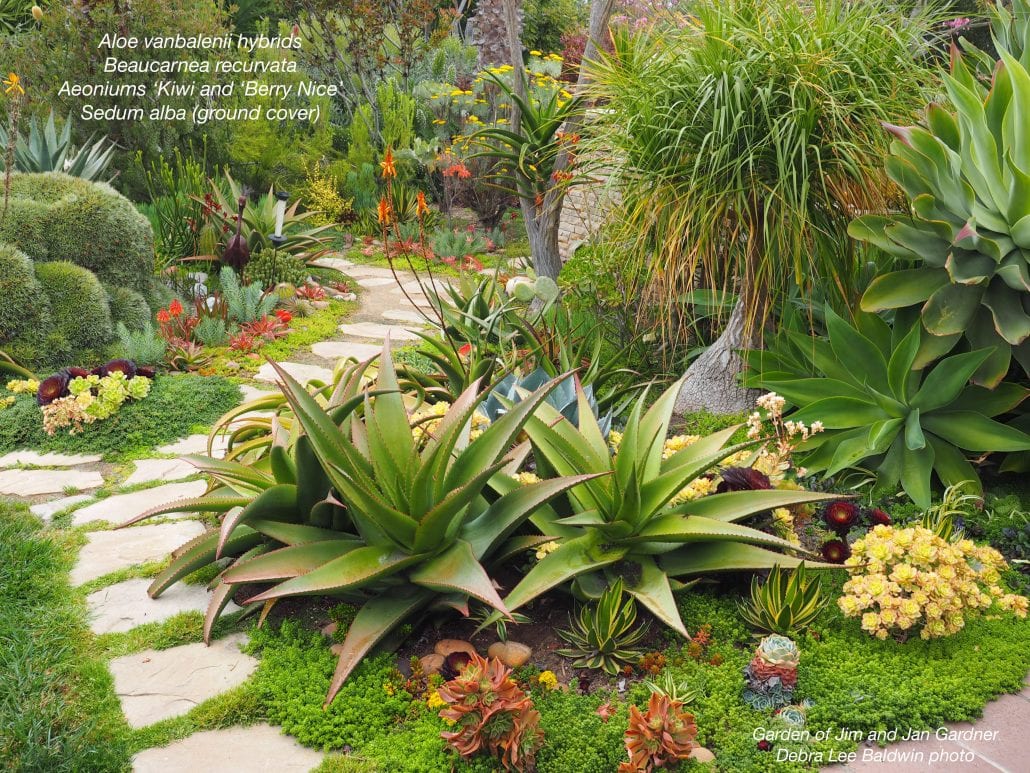
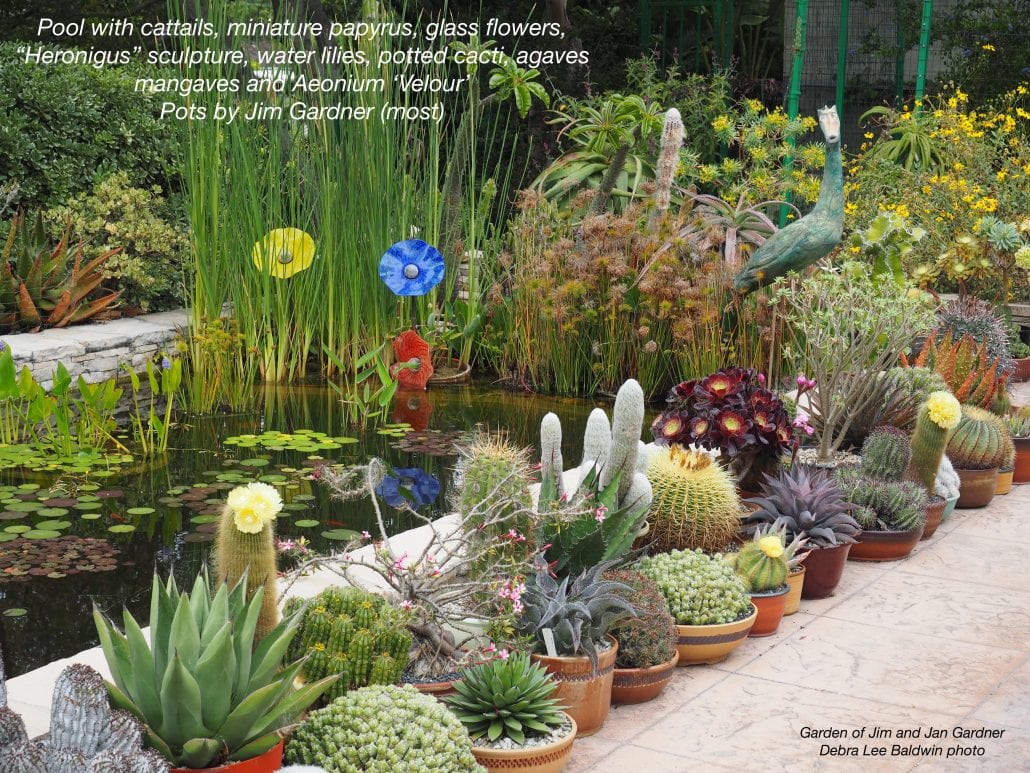
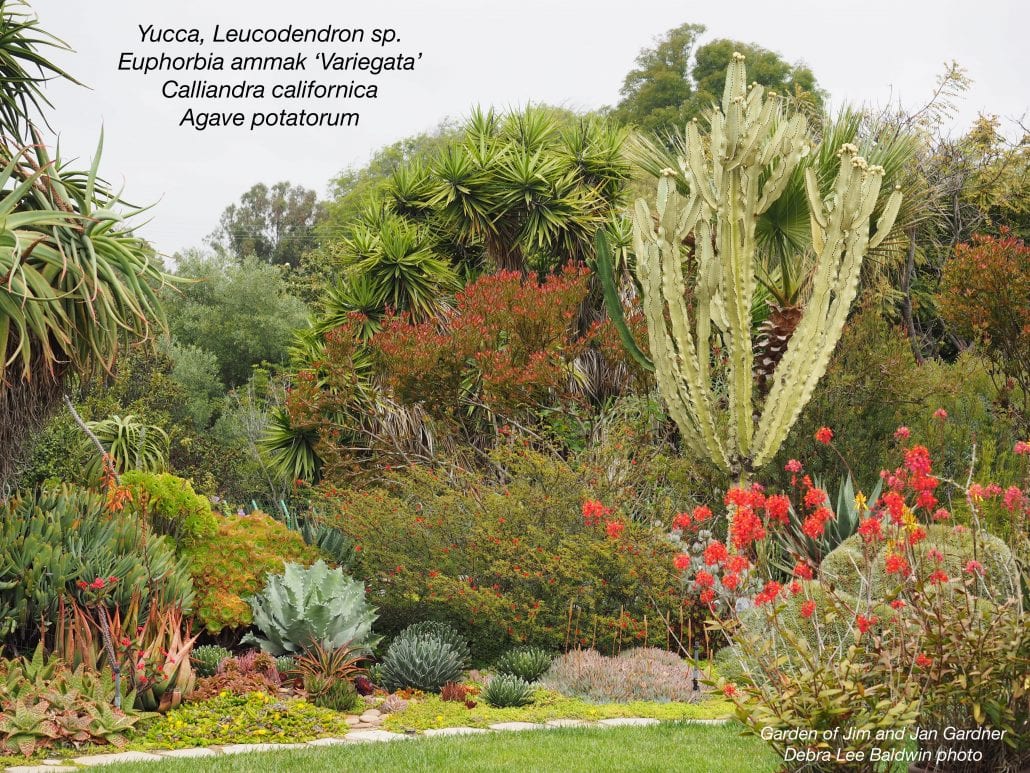
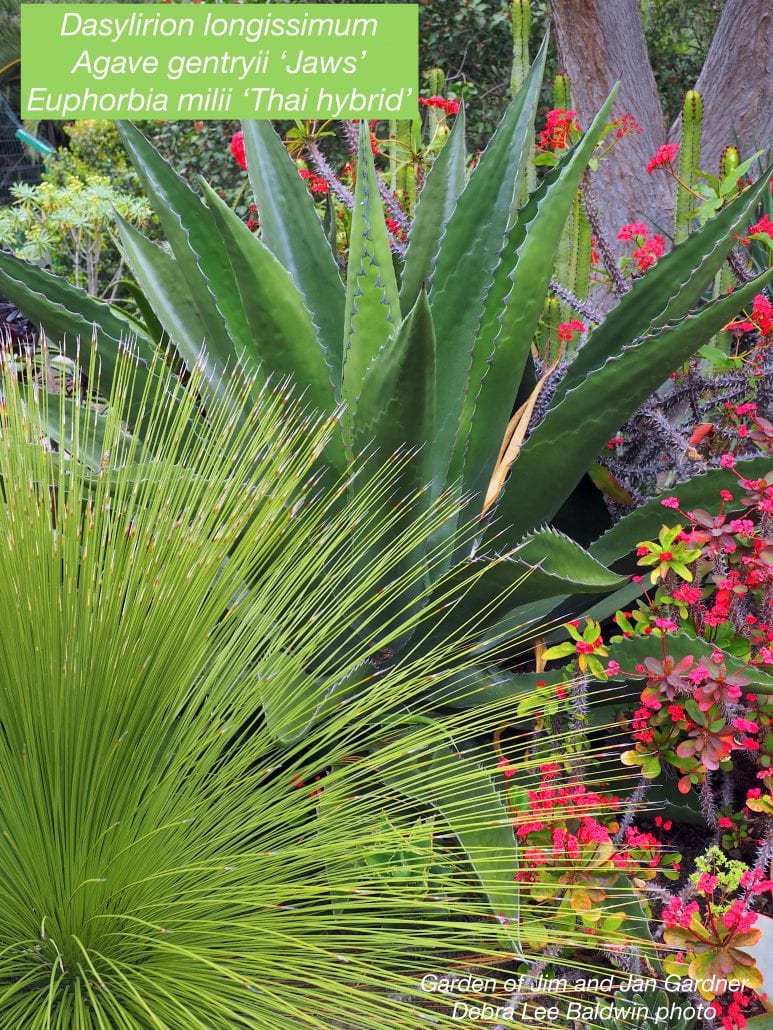
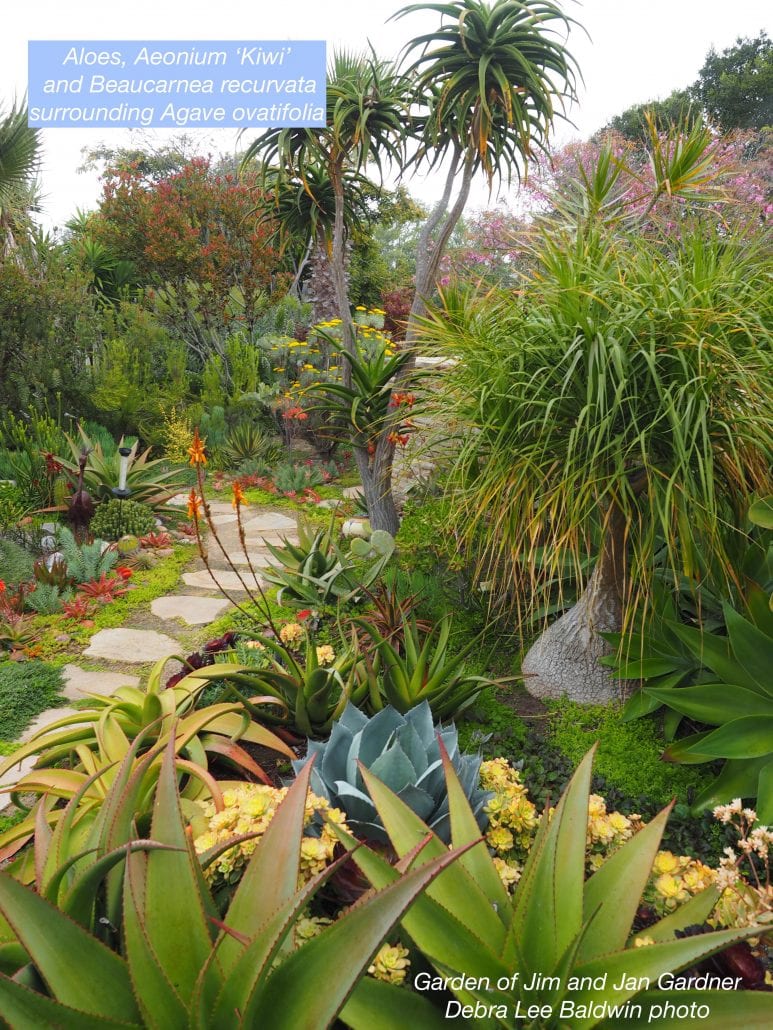
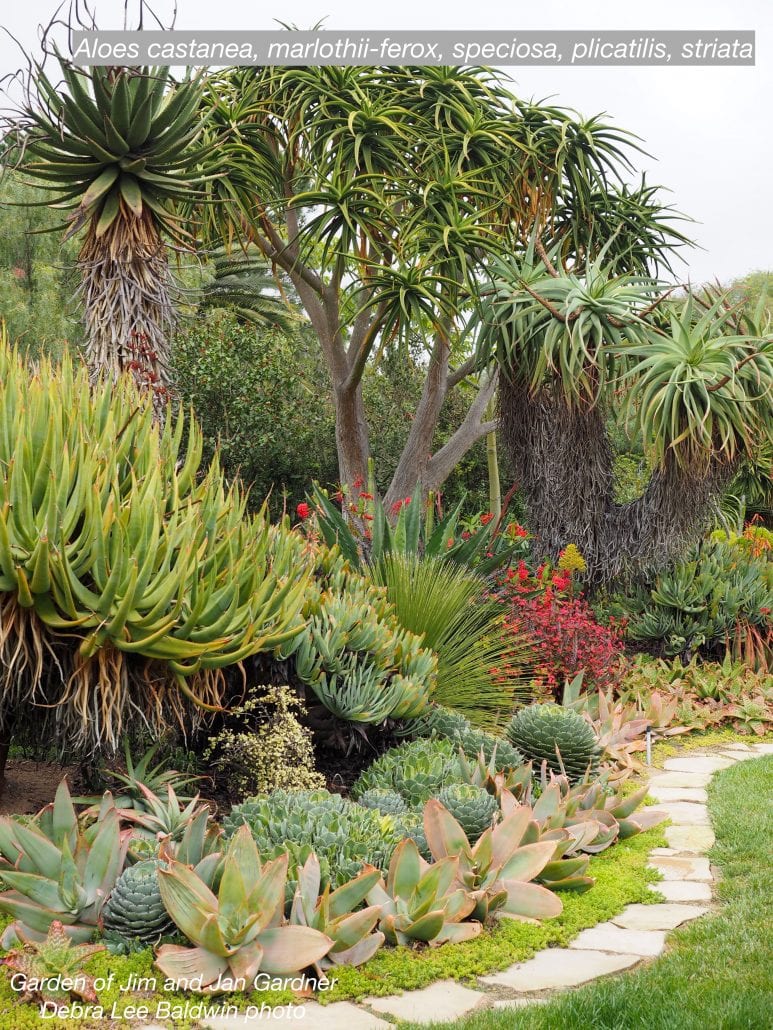
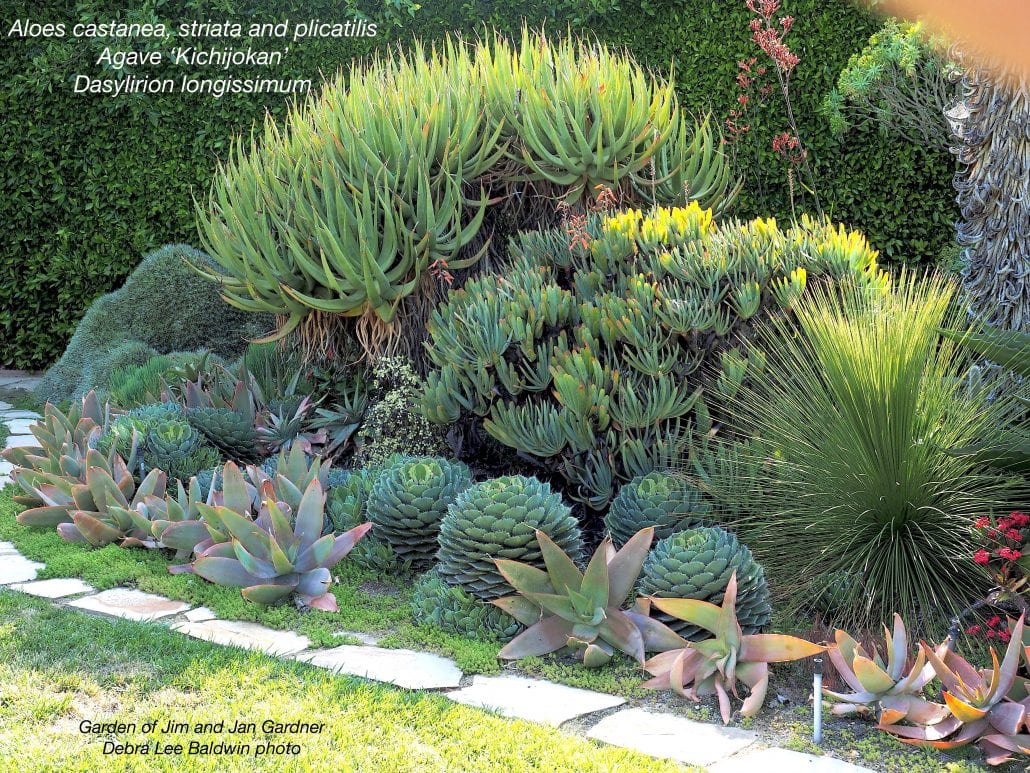
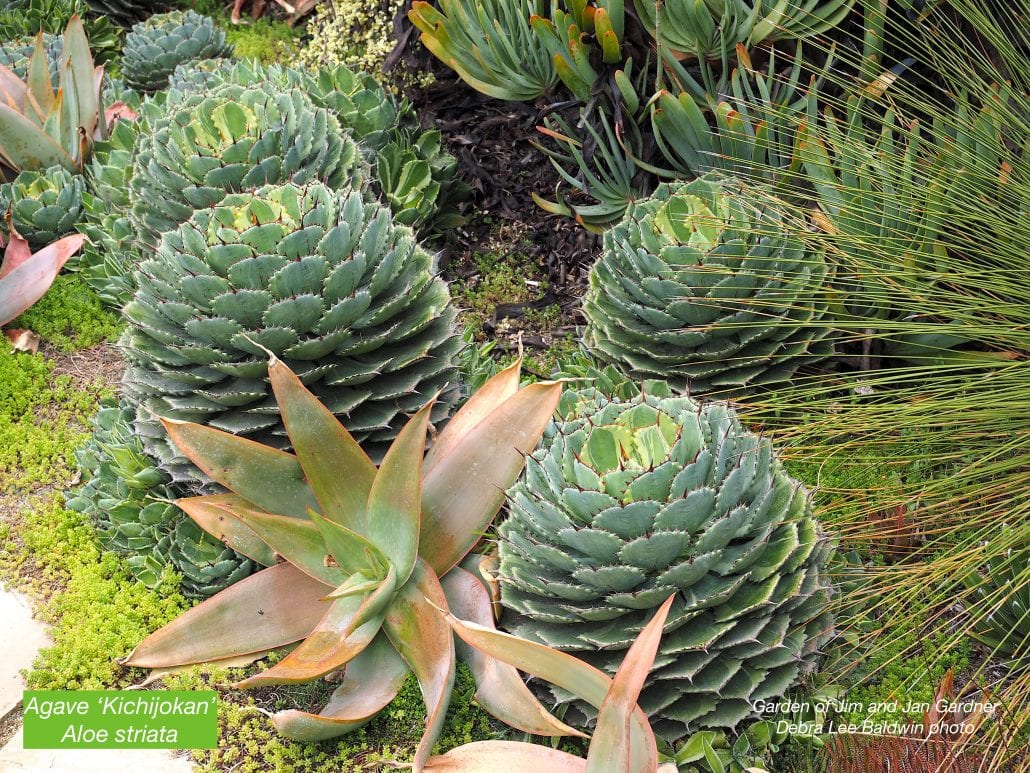
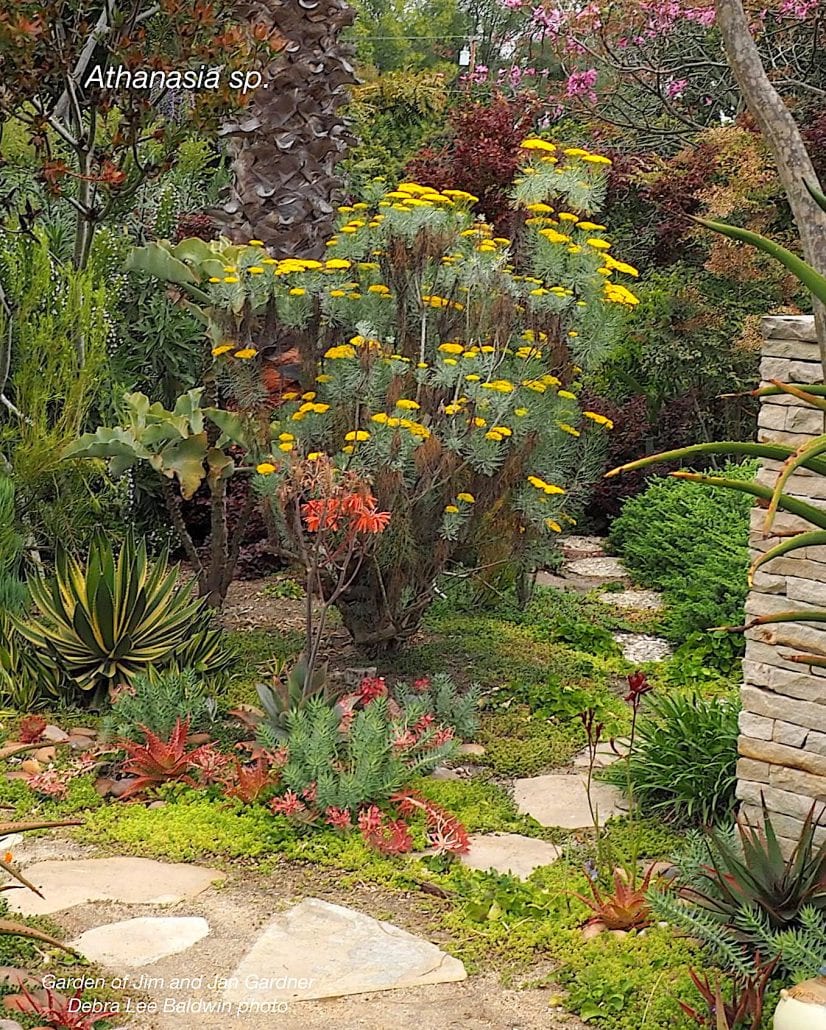
Jim and Jan Gardner’s colorful, textural landscape near Los Angeles showcases hundreds of varieties of mature succulents and waterwise plants.

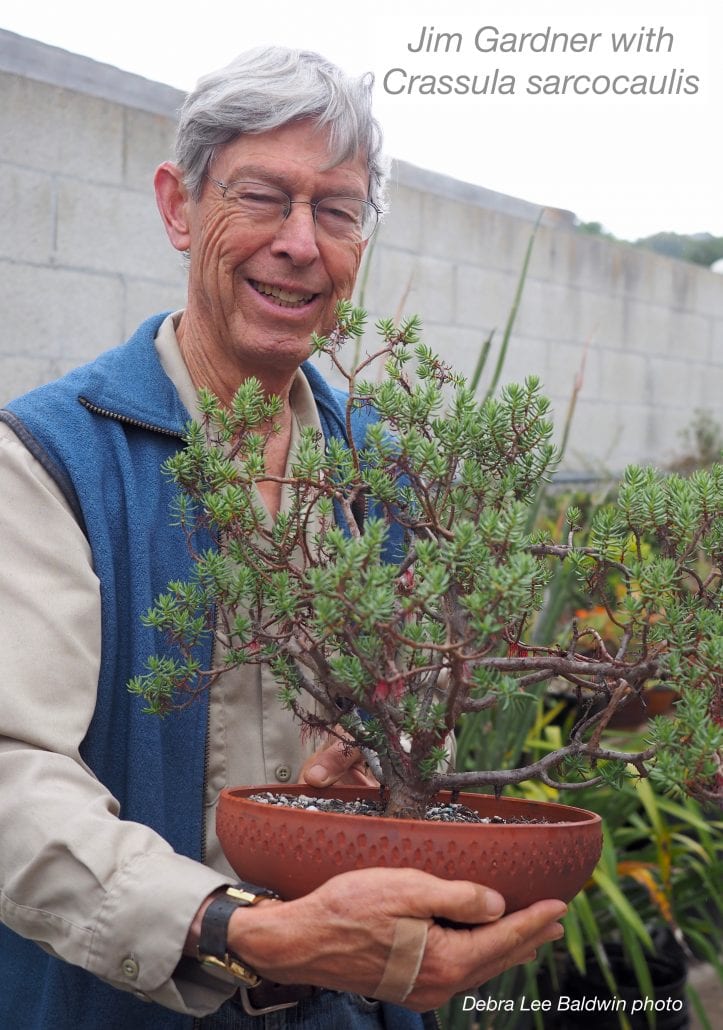
A retired MD, Jim’s the “succulent guy” at nearby South Coast Botanic Garden and an art potter as well.

For over 40 years, the Gardners have lived in the Rolling Hills Estates community of the Palos Verdes peninsula, which juts from the coastline like a burl on an oak. It’s a highly desirable habitat for plants as well as people, and a great place to view large specimens. Tropicals and succulents have thrived in this mild, maritime climate for as long as nurseries have made them available.

Palos Verdes peninsula, southwest of LA. The red dot indicates the botanic garden.

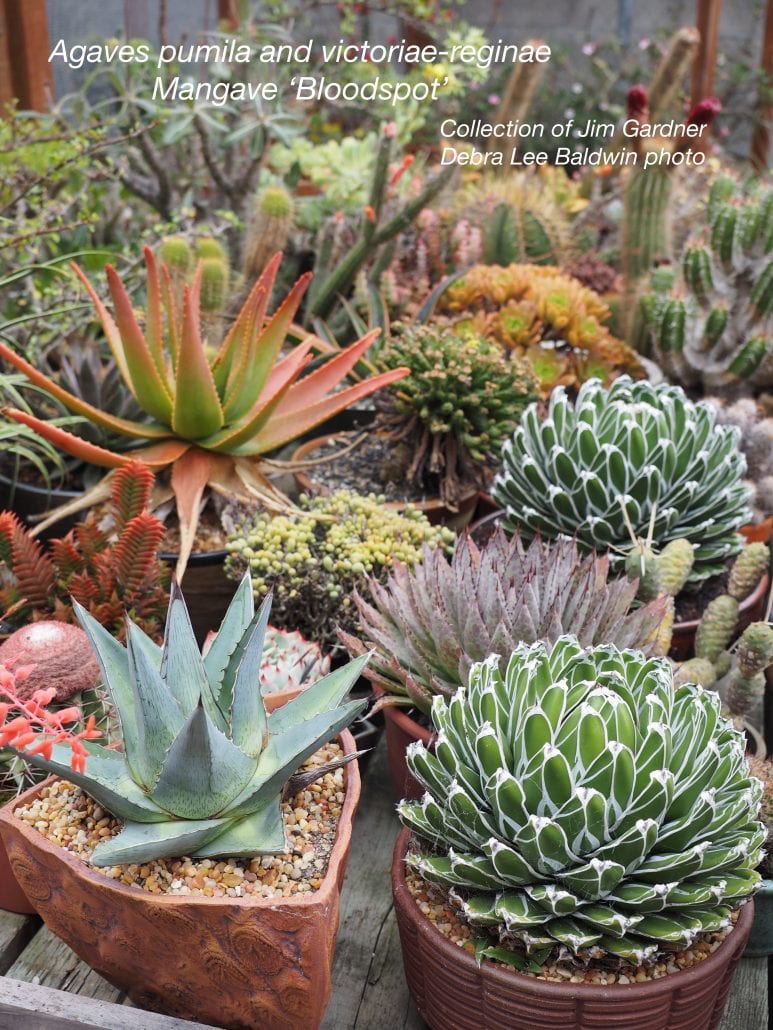
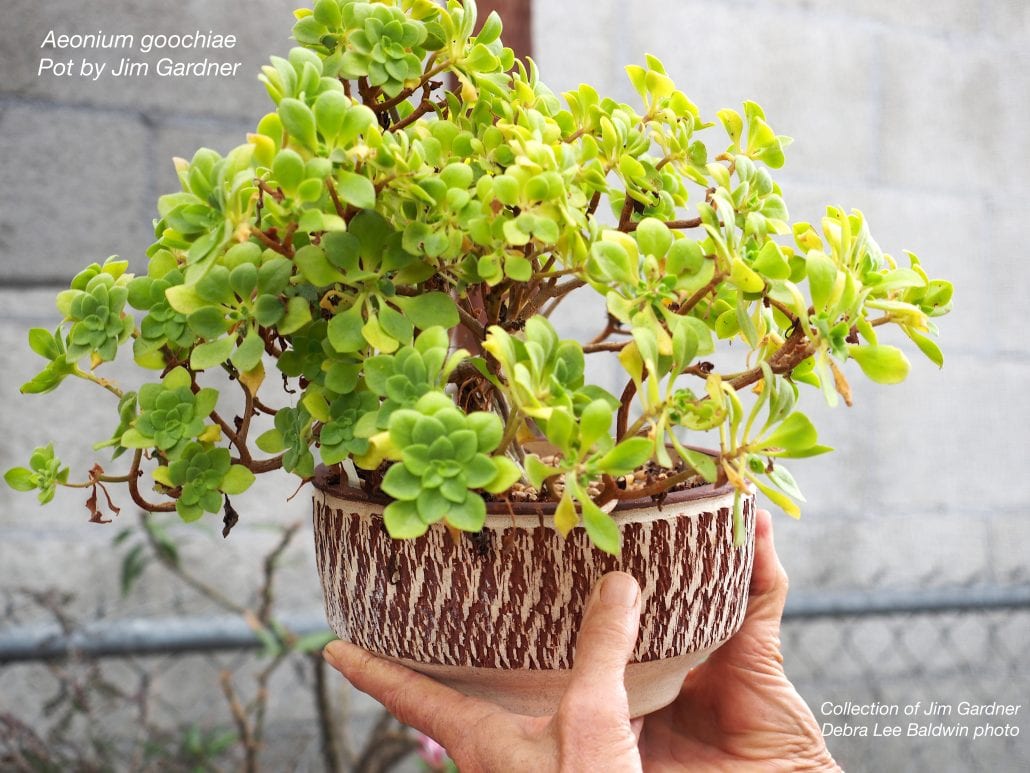
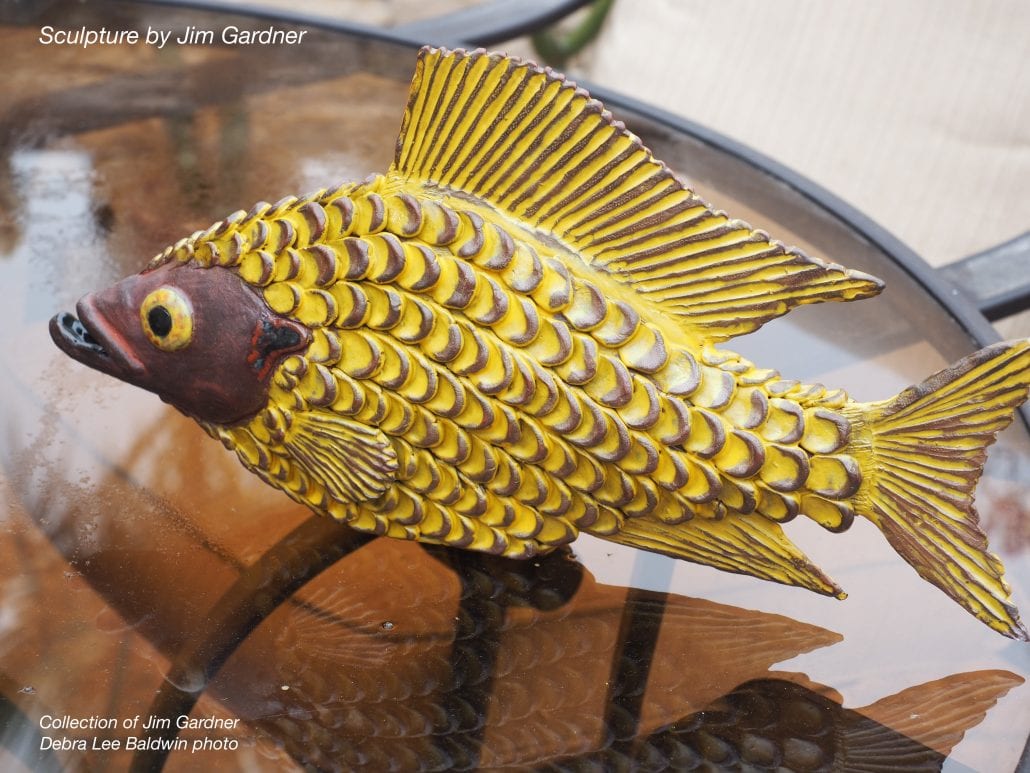
Jim is a self-described “biophile:” a person who enjoys interacting with nature’s life forms. “They stick to me,” Jim says of his collection of 1,300 potted succulents and cacti. Many are in containers made by Jim himself, who after 30 years in internal medicine at Kaiser’s South Bay Medical Center, became an artist-potter. His highly sought-after work is characterized by organic textures derived from items such as pine cones and tree bark. A long-time Cactus and Succulent Society member, Jim is the volunteer “succulent guy” at nearby South Coast Botanic Garden, where his pots are available at the gift shop and annual two-day Cactus & Succulent Show in April.

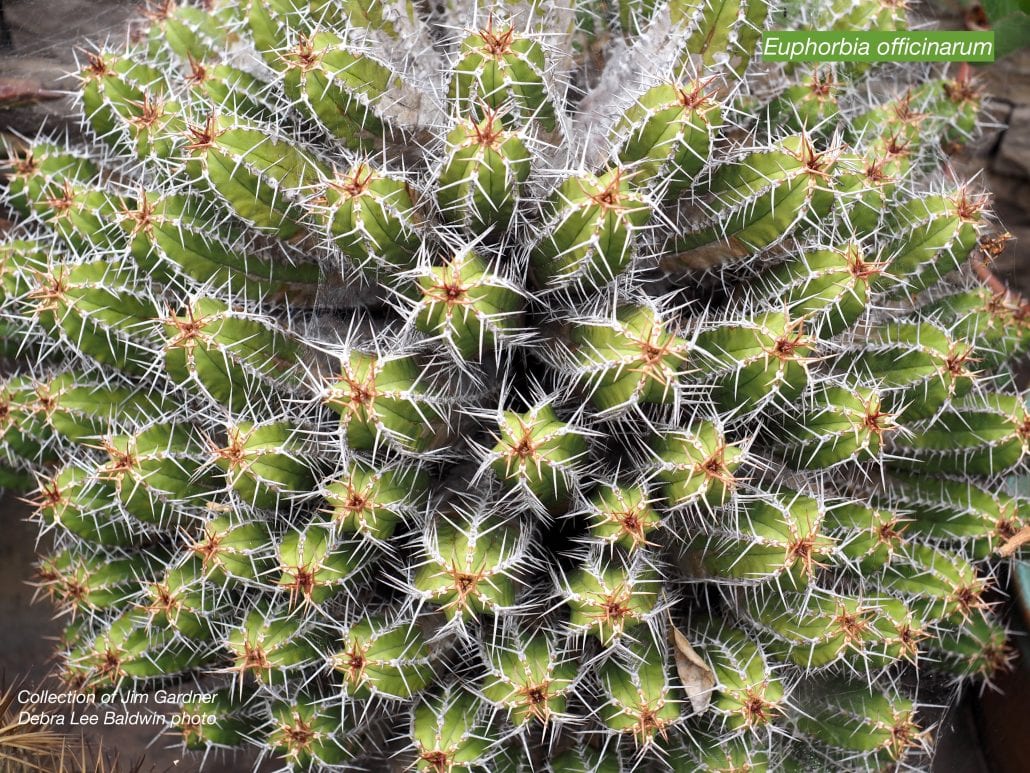
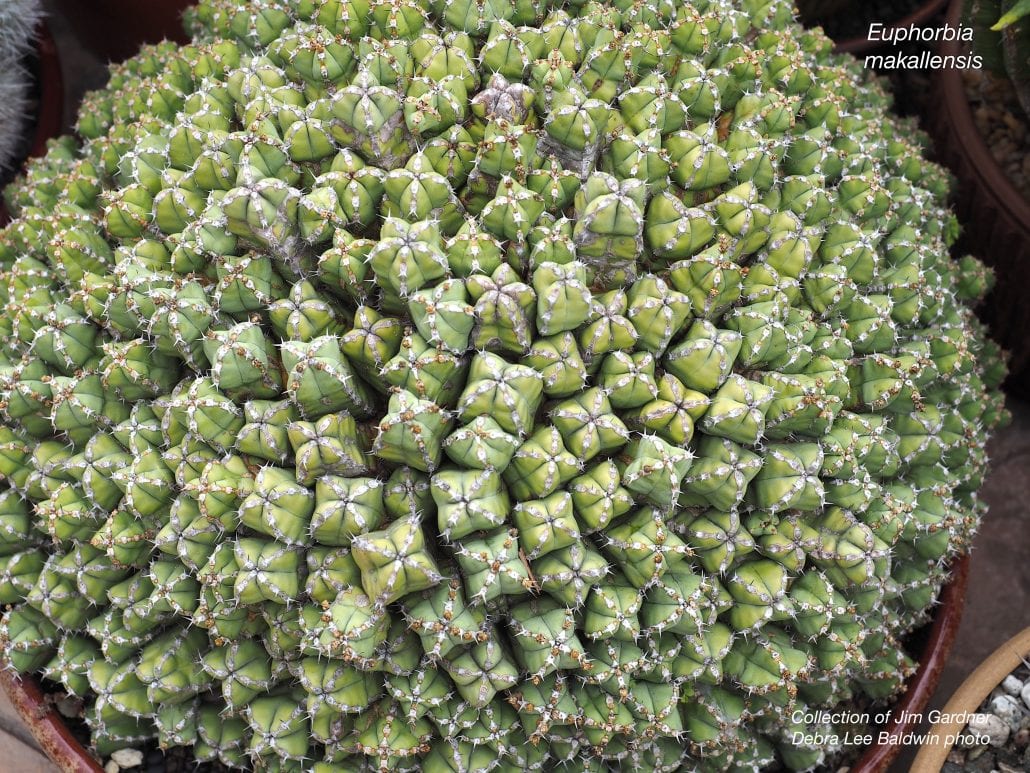
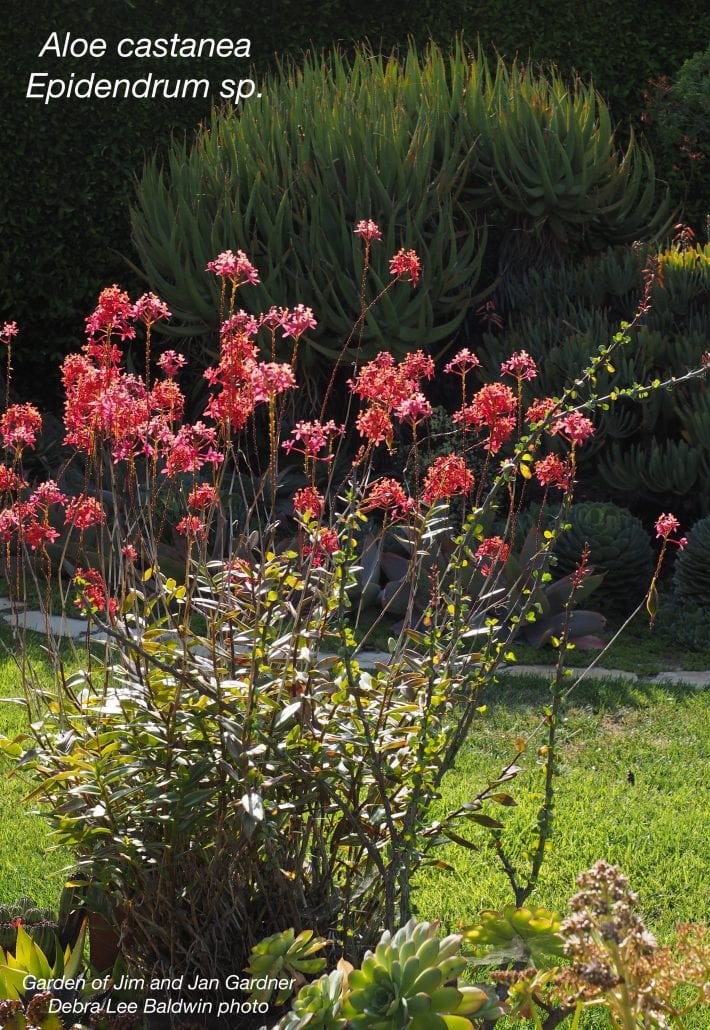
Jim makes it look easy to grow 20-foot tree aloes, airy epidendrums and sofa-sized deuterochonias (a spiky, colony-forming bromeliad). But like any avid biophile, he’s made his share of mistakes. Years ago, for example, when applying herbicide to an invasive grass, Jim sprayed his succulent euphorbias as well. “They turned to mush,” he recalls with a wry smile.

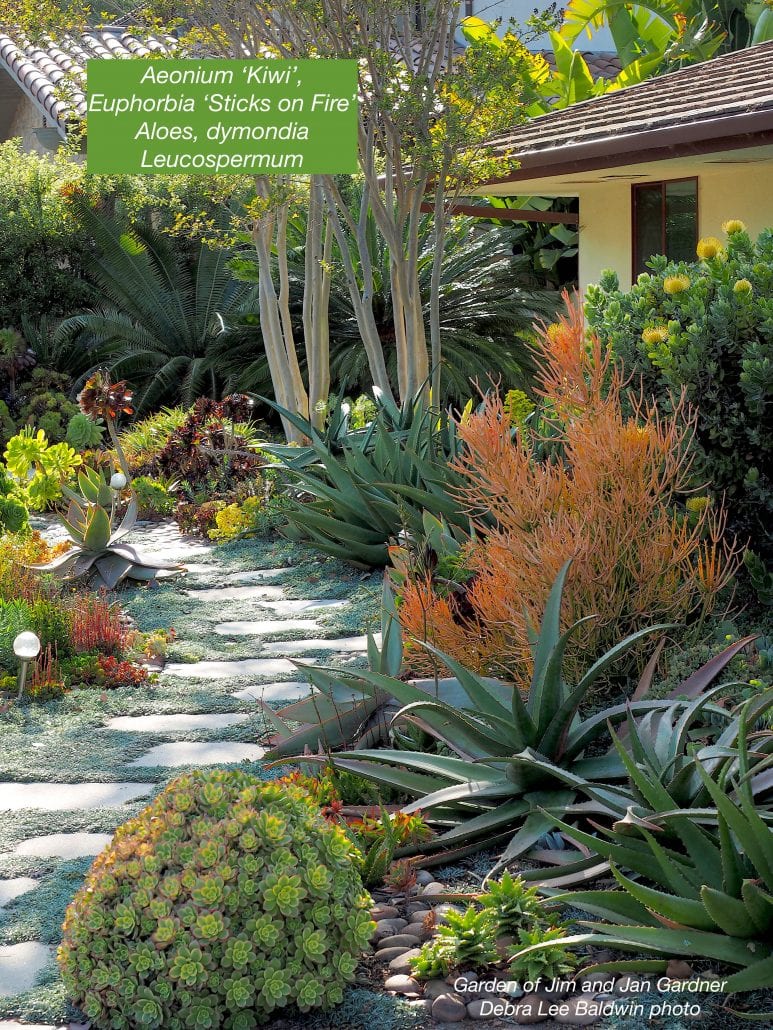
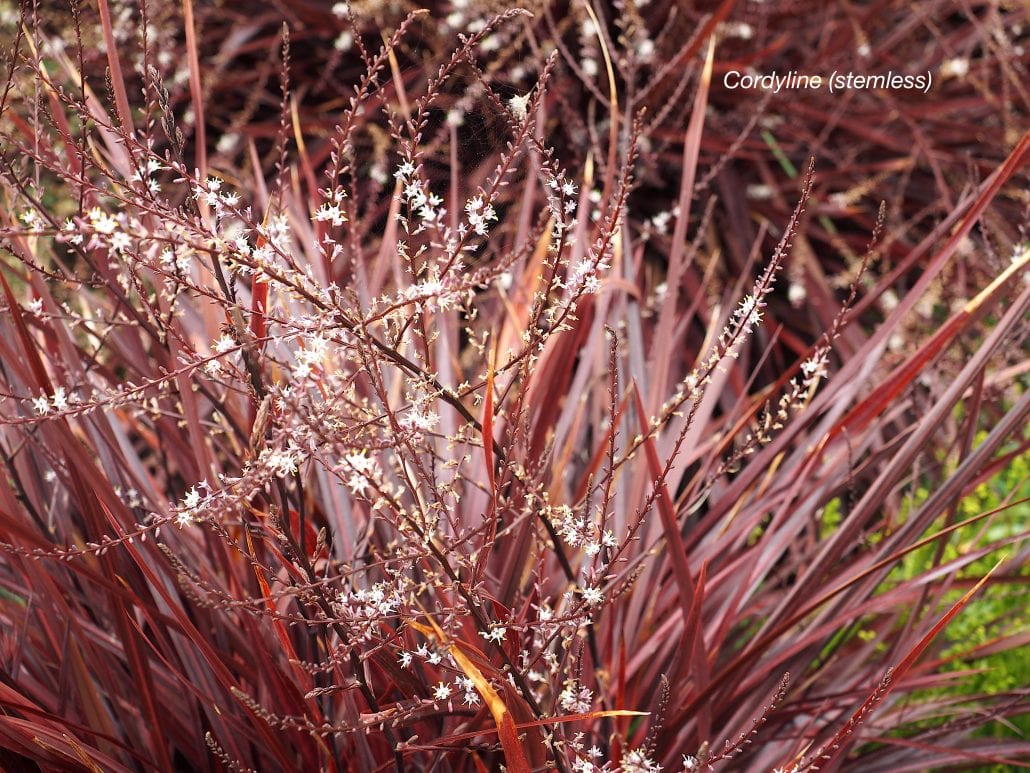
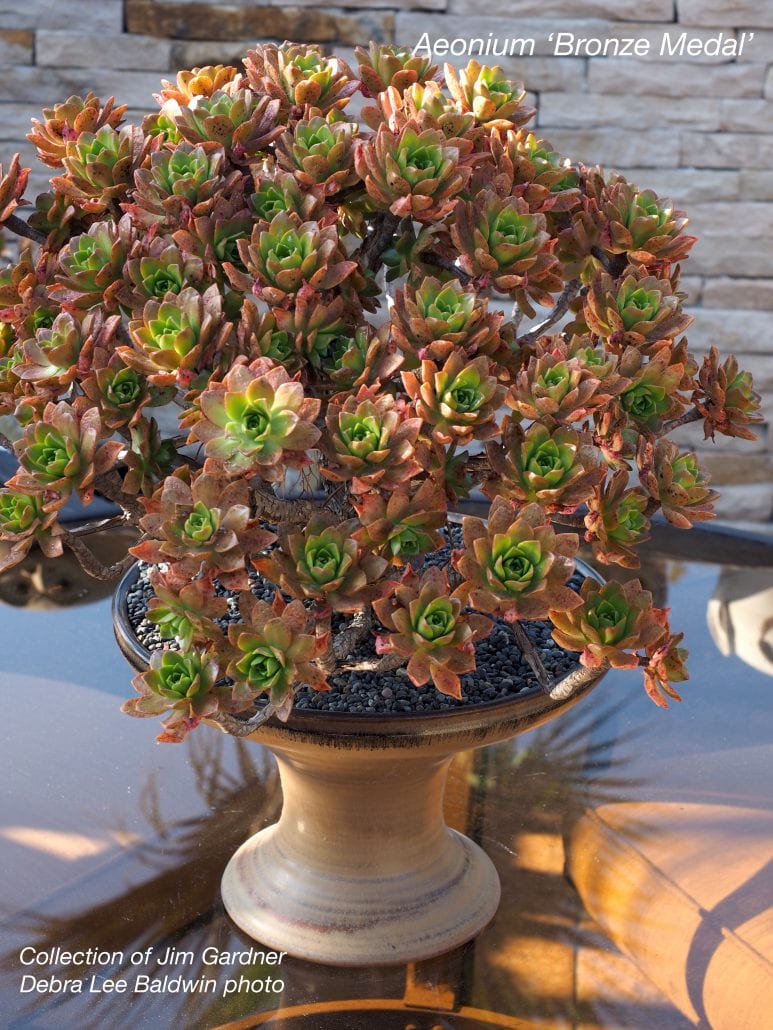
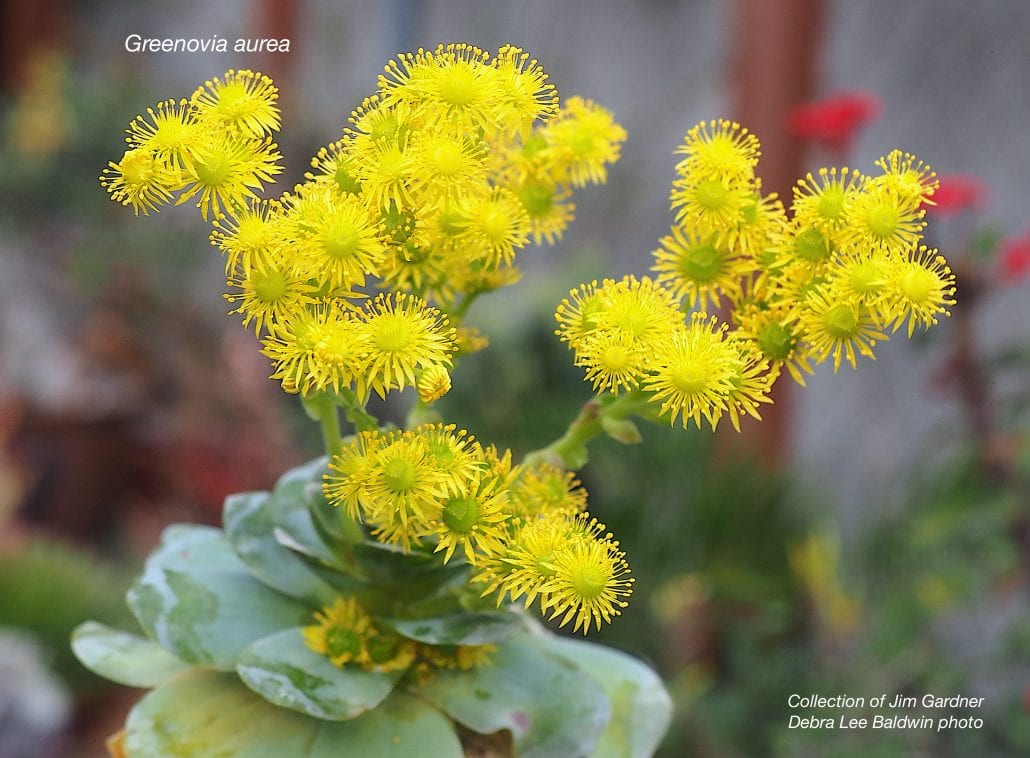
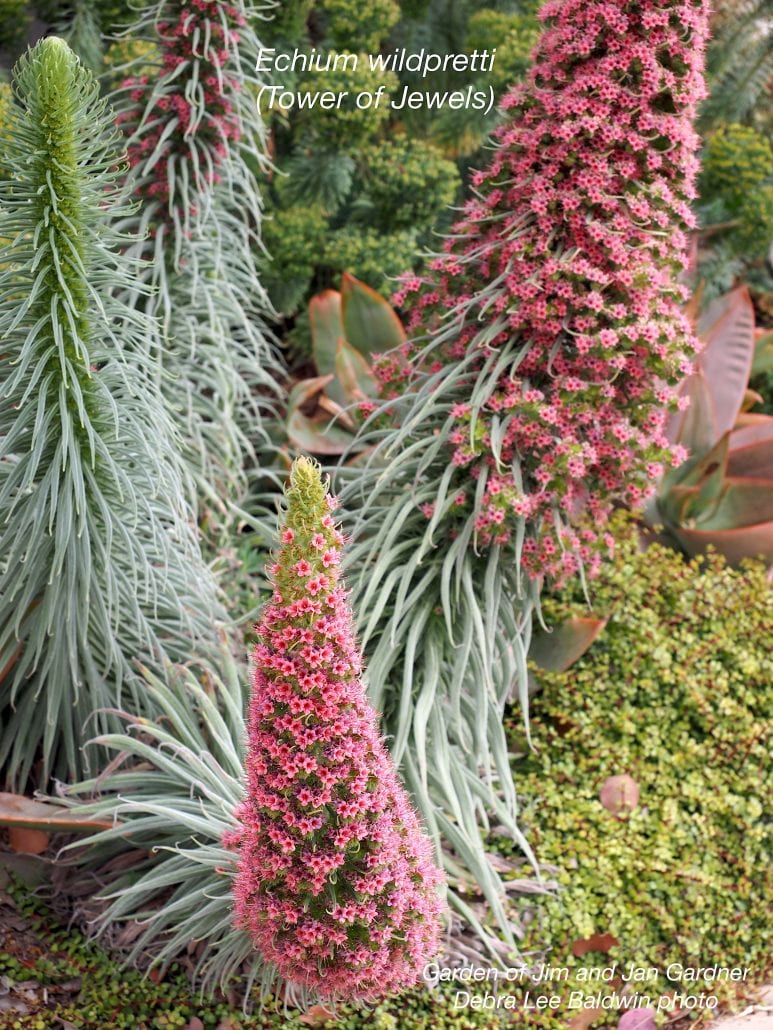
“Out in front,” he adds, “I trimmed the lavenders too vigorously and killed them, so that’s how these plants happened.” He gestures to a streetside garden lush with aeoniums, aloes and shrub euphorbias. Pavers that traverse the area appear grouted with dymondia, a low-water ground cover that withstands foot traffic. Other low-water ornamentals include tower of jewels (Echium wildpretti), with conical, deep pink, 5-foot bloom spikes; and a trunkless burgundy cordyline with white flowers that suggest shooting stars.

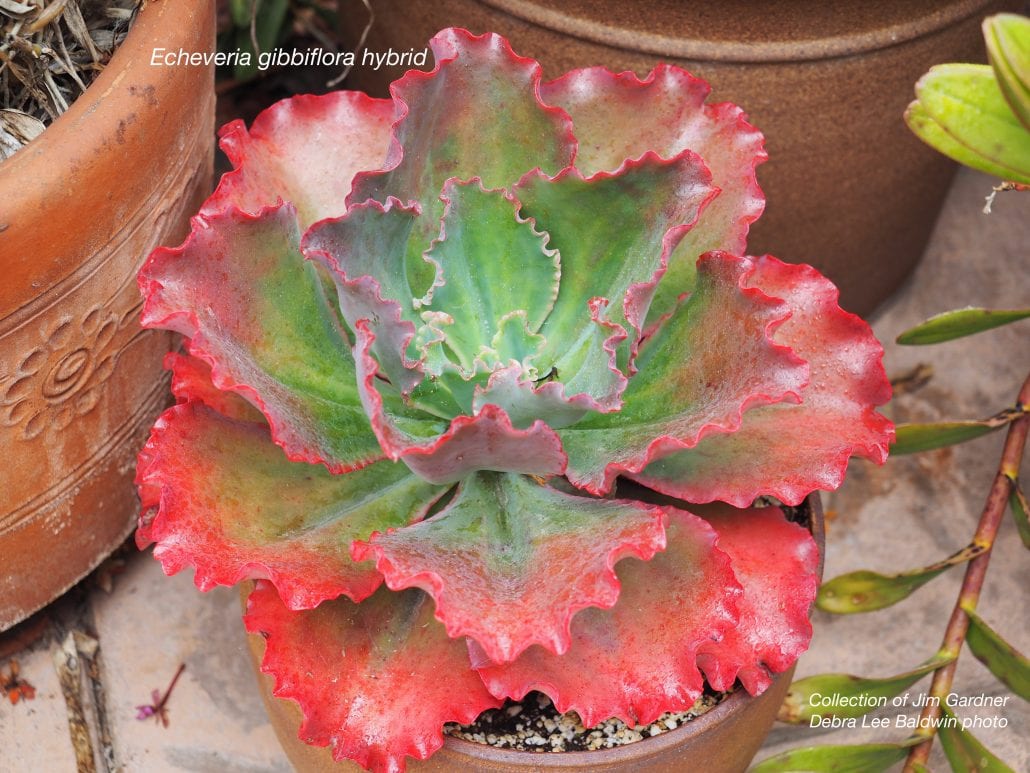
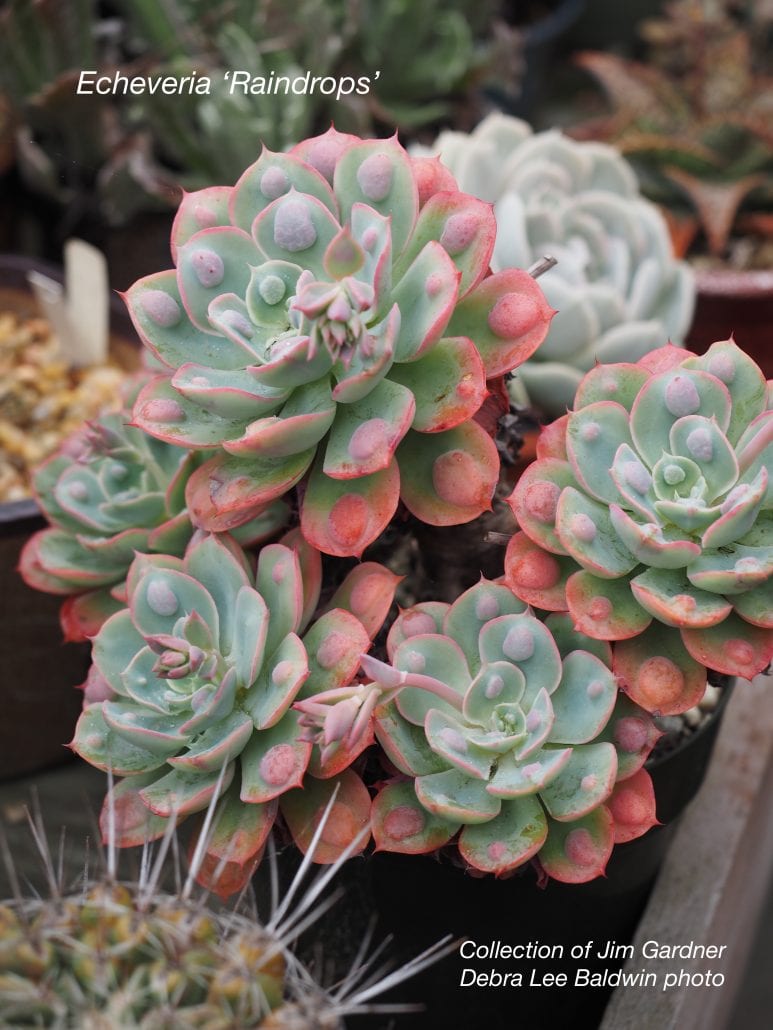
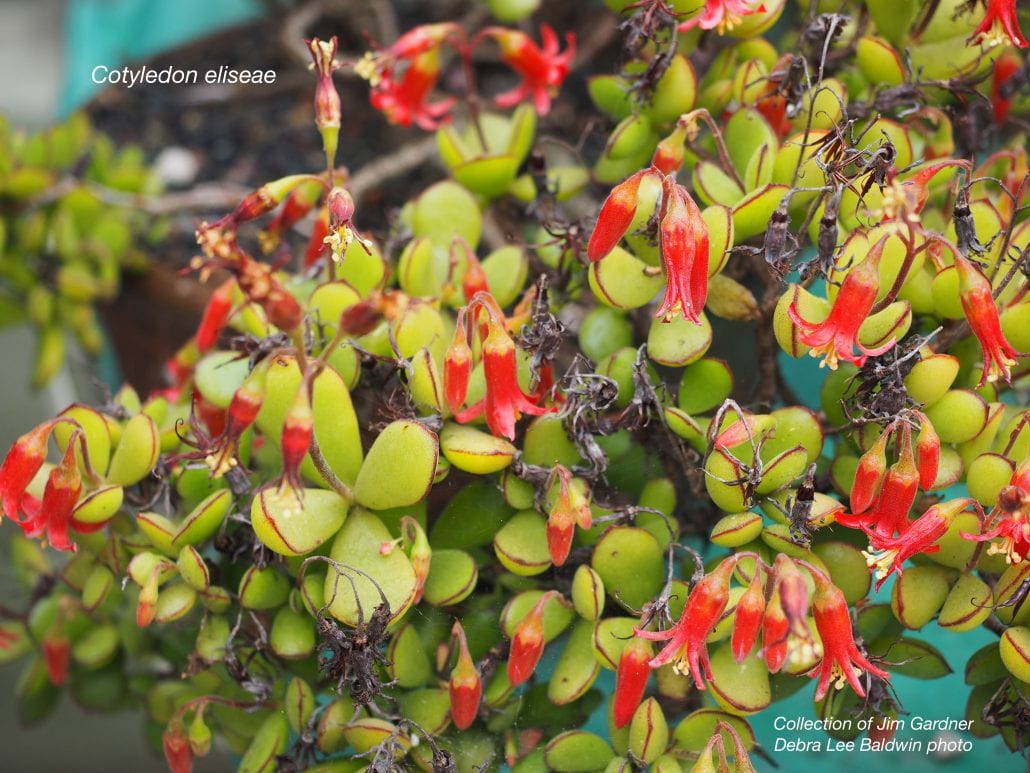
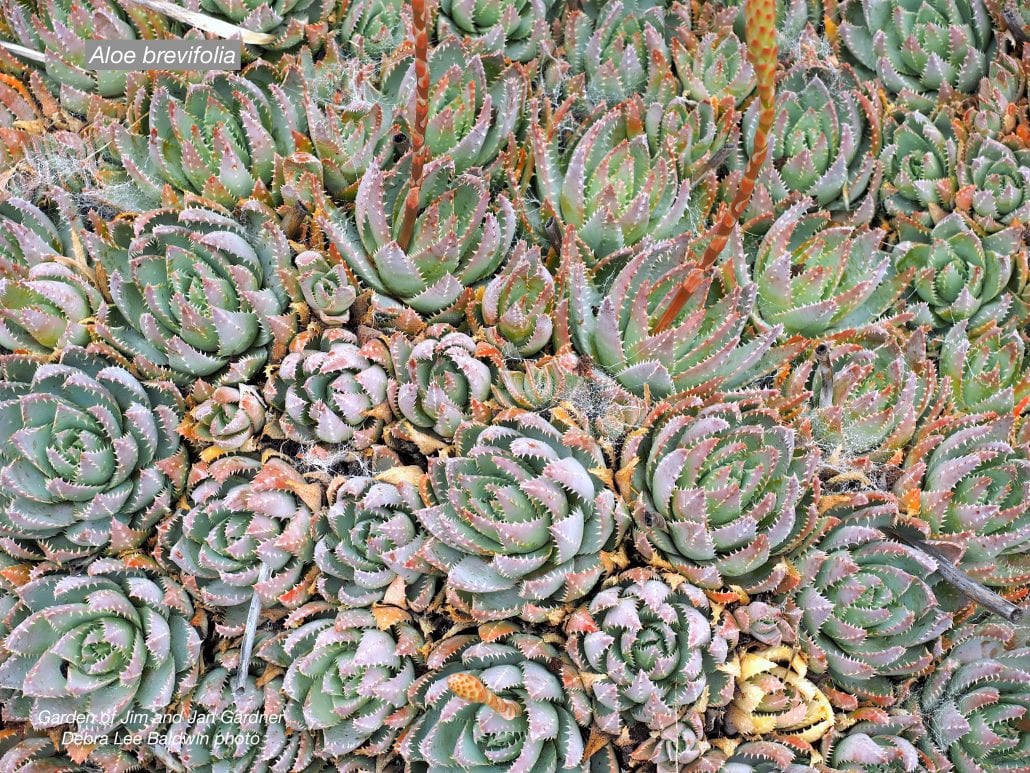
As you might imagine, it was a treat for me to meet Jim and Jan and see their garden, a visit made possible by Jackie Johnson, president of the Peninsula Garden Club, where I gave a presentation on Designing with Succulents. Jim graciously provided IDs for the main plants in my best photos—well, the top 60—40 of which are here for you to enjoy. I’ve posted on Instagram several short videos taken at Jim’s, but THE must-see is my newly released, 5-minute YouTube video: “Jim Gardner’s Succulent Showcase, Palos Verdes.”

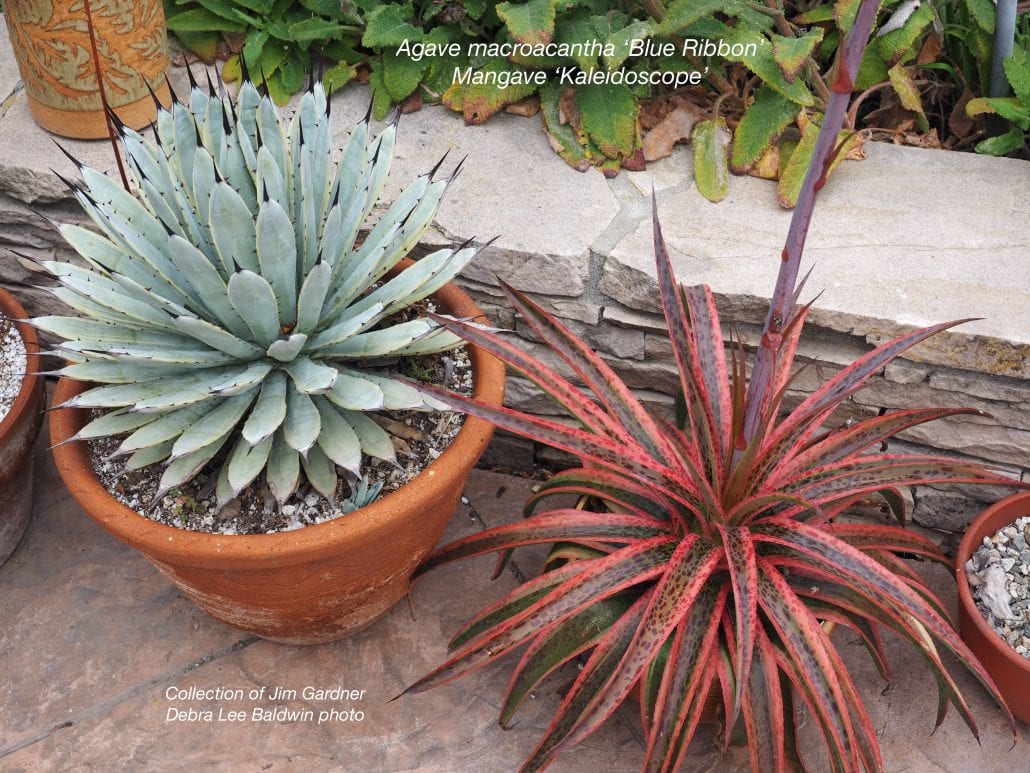
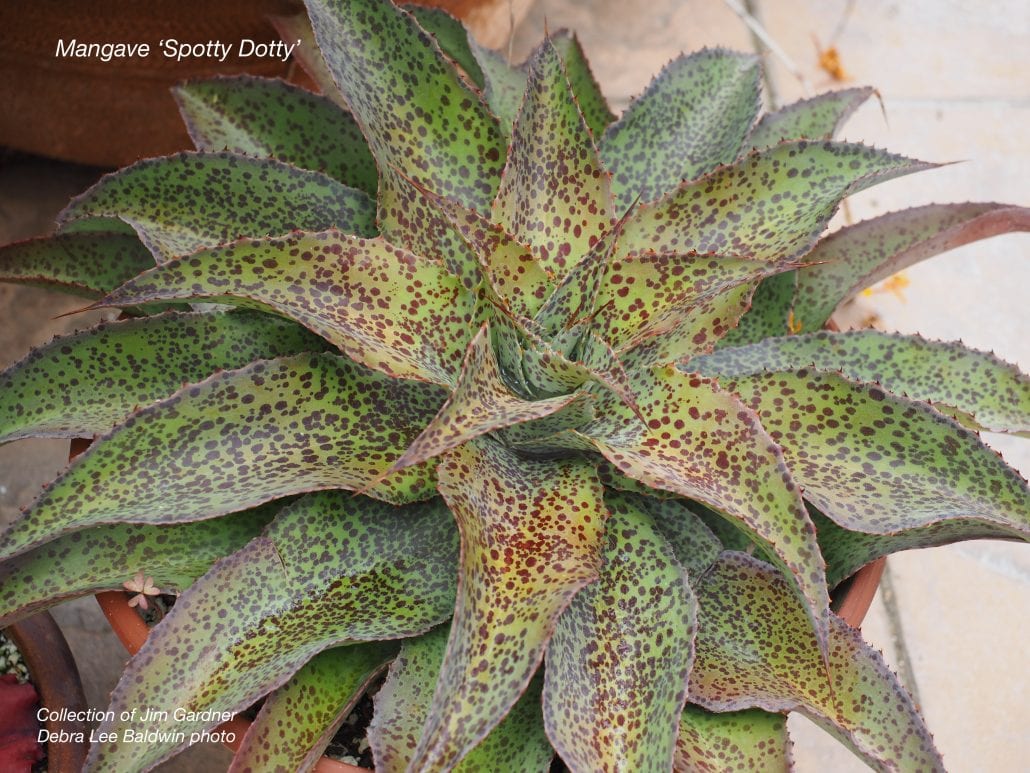
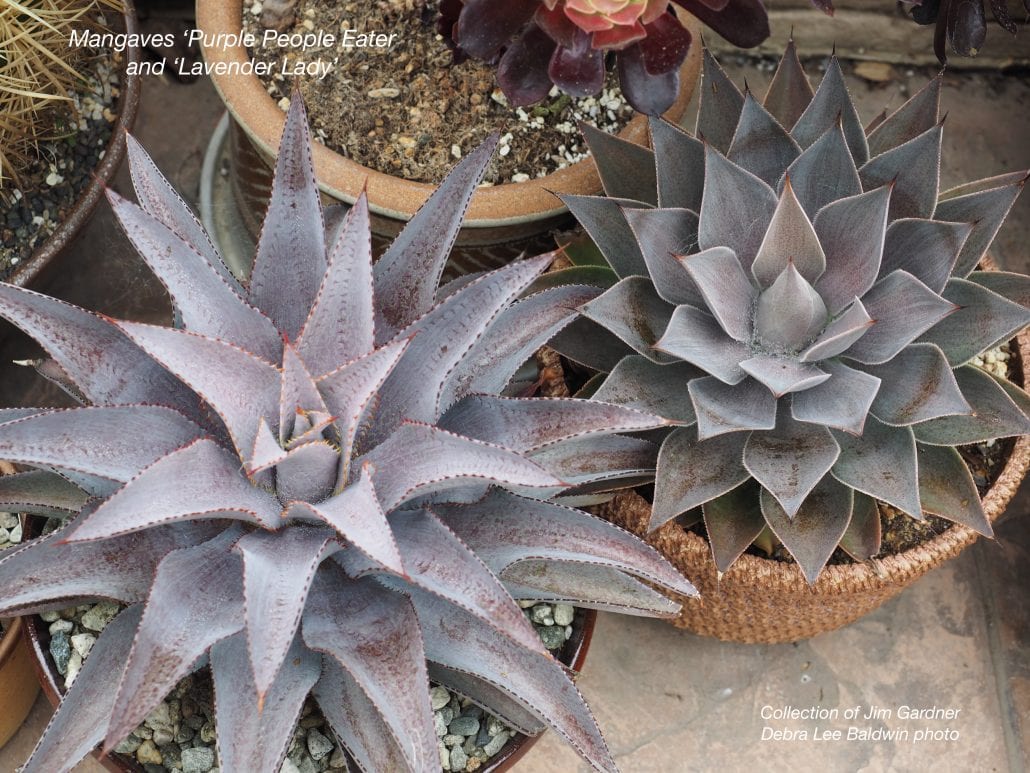
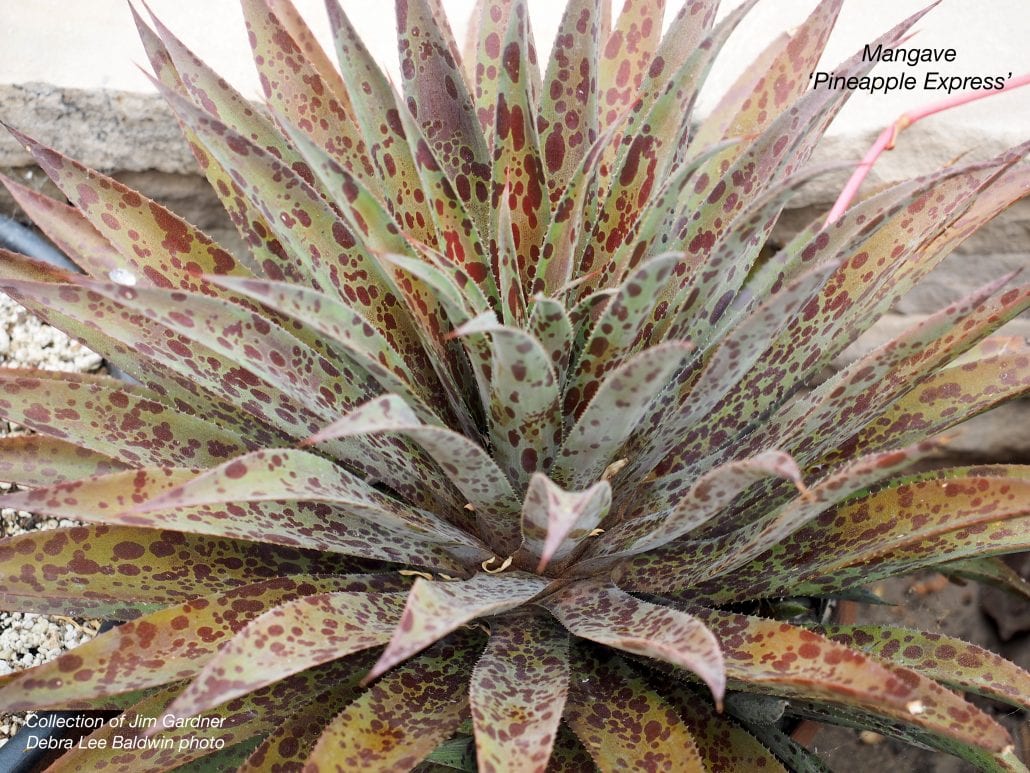
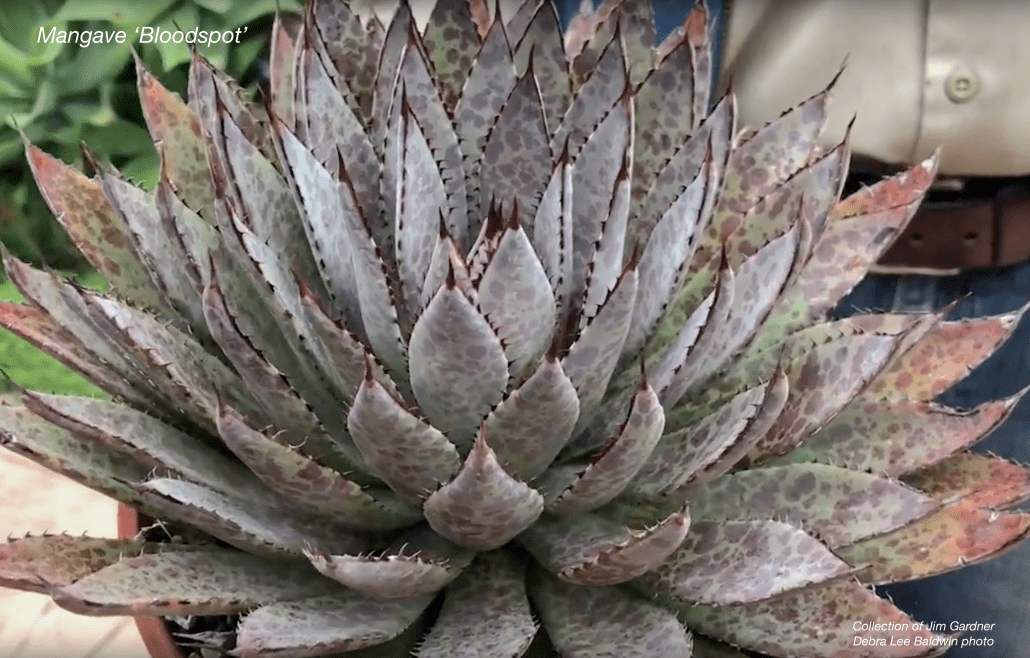
Btw, Jim collects and hybridizes mangaves (Manfreda x Agave hybrids). You’ll notice these intriguing dotted and speckled succulents in some of my photos. Be sure to watch for a future newsletter in which I’ll explain why these increasing popular succulents deserve to be in your own collection.

And now…drum roll…my annotated gallery of the Gardners’ garden ~


Related info on this site:

Patrick Anderson’s Garden: It All Started with Aloes

Fleshy green monsters in Patrick Anderson’s Fallbrook garden look like they might snap him up if he turns his back. They’re giant succulents, and Anderson’s half-acre hillside showcases hundreds of unusual ones. “I like their huge, sculptural forms,” [Continue reading]

Succulent Garden Design Essentials 

Nancy Dalton’s award-winning succulent garden in San Diego is an outstanding example of smart landscaping for Southern California’s arid climate. Enjoy it’s many pleasing and practical aspects and keep these dozen ideas in mind [Continue reading]


The post Jim Gardner’s Succulent Showcase in Palos Verdes appeared first on Succulents and Succulent Garden Design | Debra Lee Baldwin.


from Succulents and Succulent Garden Design | Debra Lee Baldwin https://ift.tt/2LcSUJ8
via IFTTT
martes, 10 de julio de 2018

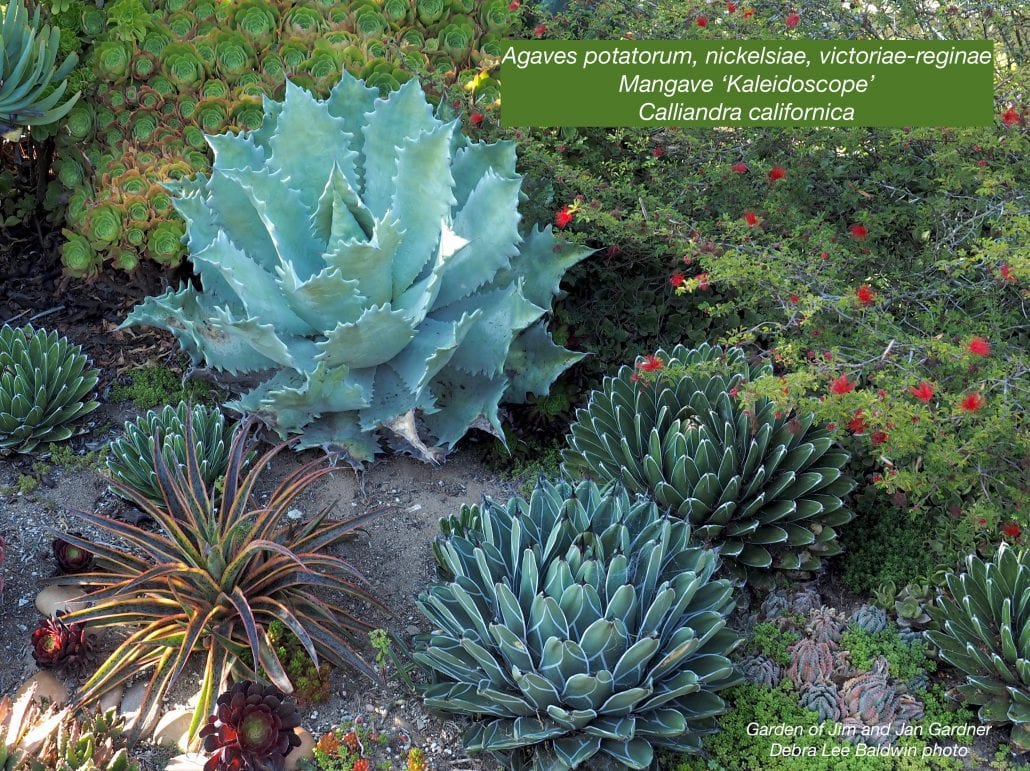
Succulent Desk Buddies Amazing tips

“Desk buddies” are succulents that look good on your desk and require almost no care. They’re cute and classy, and visitors invariably ask about them. All you have to do is dribble water on them twice a month (which also keeps them dusted).

Here for your enjoyment is a step-by-step DIY project for creating a sparkling trio of succulent desk buddies. Watch the corresponding YouTube video.

I chose haworthias for my desk buddies because they do great in terrariums. These small succulents from South Africa are rosette-shaped and shades of green, sometimes variegated with cream or white. Certain species have translucent tissue and veining on leaves. Most haworthias prefer bright shade, grow no more than 4 or 5 inches in height and diameter, and offset to form mounding colonies. Outdoors, they need protection from sun scorch and frost.

Recently I brought home several haworthias in 2.5-inch nursery pots to create a trio of desk buddies, inspired by Altman Plants’ collection with the same name. Another great online source is Mountain Crest Gardens.

Plants*

Haworthia fasciata hybrid. Similar to H. attenuata (zebra plant), the rosettes have stiff, upright, pointed leaves that appear sharp but aren’t.

Haworthia emelyae. Each leaf forms a fat triangle that curves up and outward. Leaf tops are translucent and veined. Similar to H. retusa.

Haworthia cymbiformis. Similar to H. retusa and H. emelyae, but offsets are more clumping.

Design

I wanted a simple, sophisticated trio that would showcase the plants, so I went with glass spheres. These have a clean, fresh look and don’t leave water spots on tabletops. (Lack of draingage is not a problem. If that seems counterintuitive, see How to Water Succulents.) I didn’t want any dirt to show, so I concealed roots beneath layers of sand in muted hues. You might add pebbles, beads or even buttons, but keep in mind that as sand sifts through and past them, bigger items work their way to the surface.

Materials

— 3 glass globe candle holders, each 4 inches in diameter

— Pumice (crushed white volcanic rock) about 2 T per container

— Several colors of sand. I chose light earth tones because subtle variations are best when seen up close. You might also consider colors that harmonize with furnishings or accessories. Cautions: Bright sand can call excessive attention to itself, overshadow the succulents, and suggest a Kindergarten project. Don’t use beach sand, which contains salts, or sand that’s green because it’ll suggest algae.

— Bowl or bucket of water for swishing soil off roots (optional).

— Soft artist’s brush for cleaning sand off leaves.

Method

— Slide plants out of their nursery pots, gently remove as much soil as possible, and swish the roots in water (optional). If some soil clings to them, that’s fine, just so it won’t be visible through the glass.

— Dip roots into pumice so it clings to them (optional). Add a couple of spoonfuls of pumice to the bottom of the globe and set the roots atop it. The plant might rest below the rim, suggesting a terrarium. If leaves are at mid-rim or slightly higher, the container will suggest a flower pot.

— Pour in different colors of sand to create layers. Experiment with tipping the globe to achieve curved or sloping lines. Avoid getting sand on leaves because you’ll have to clean it off.

— Tap the container gently to settle sand around roots.

— Think it could look better? Simply start over (remove contents, clean the glass). When you’re satisfied, gently brush grains of sand from the leaves.

— Use a squirt bottle to further cleanse the leaves and settle the roots. Avoid soaking the sand.

Care

— Dribble a little water on the plants every couple of weeks or so. Hold the globe so you can see where the water goes (wet sand will appear darker). You want it to go to the center, not the sides.

— Give haworthias as much bright light as possible but no direct sunlight. Sun may burn the leaves and cause algae to grow in damp sand.

— Over time, lower leaves may wither and dry, which is normal; snip and remove them with scissors and tweezers.

— If you don’t like the haworthias’ spindly blooms, you have my permission to pinch them off.

— Watch for pests such as aphids and mealybugs. Should they put in an appearance, spray with 70% Isopropyl alcohol.

— No fertilizer needed.

*Trying to accurately ID Haworthia species and cultivars is frustrating, to say the least. There are innumerable hybrids, and it takes an expert to tell them apart, especially when growing conditions may shorten or elongate leaves, or cause rosettes to have a flatter shape or greater or lesser variegation.  Fortunately all have similar cultivation requirements, so if you see one you like, chances are it’ll do well for you, whatever the heck its name may be. 

Related Info

On this site ~

Here are the essentials for growing succulents successfully: water, light, soil, fertilizer and more. If all this is new to you… [Continue reading]
Do Succulents Need Drainage?
Succulents in Colored Sand

On my YouTube channel ~

Succulent Desk Buddies, DIY
How to Make a Succulent Terrarium
Succulents in Colored Sand

The post Succulent Desk Buddies appeared first on Succulents and Succulent Garden Design | Debra Lee Baldwin.


from Succulents and Succulent Garden Design | Debra Lee Baldwin https://ift.tt/2N1jDoj
via IFTTT
domingo, 8 de julio de 2018

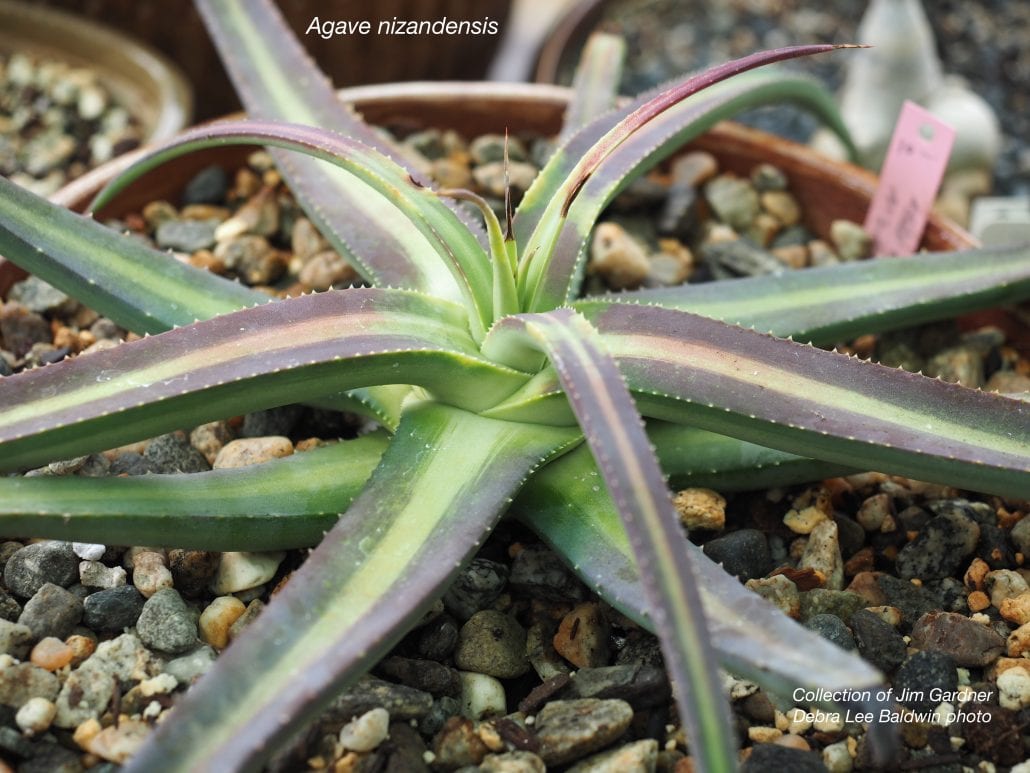
How to Water Succulents Amazing tips

Succulents—fleshy-leaved plants from hot, dry regions—are designed to live off water stored in their leaves and tissues in order to survive periods without rainfall. But this doesn’t mean you shouldn’t water them at all. In their native habitats, succulents can look pretty ratty during times of drought, and those that are not yet established may not survive.

Succulents do appreciate water and look best if given it regularly…up to a point. Their roots simply aren’t set up to handle too much water. They certainly won’t survive in mud. Don’t assume that adding rocks to the bottom of a nondraining pot provides drainage. This basically creates a bacteria-filled soup that can rot roots. On the other hand, don’t assume that a pot must have a drain hole in order for succulents to be healthy and happy. (I know it’s counterintuitive…but when you read why, you’ll see it makes sense.)

How to water succulents in pots and in the ground

Aim to keep soil about as moist as a wrung-out sponge. About once a week should do it. Water thoroughly to soak the roots and flush salts. For succulents in containers, that means until water drips out the bottom of the pot. Let common sense prevail: water more during hot, dry spells and less or not at all during periods of high humidity, cool temperatures and rain.

How to water succulents in non-draining containers

They’ll be fine if they’re not overwatered. It’s not drainage that’s important so much as avoiding root and stem rot, which succulents are prone to if they sit in water. When given less water than is optimal, they’ll draw on moisture stored in their leaves (which is the very definition of a succulent).

I water my terrarium succulents by inserting a medicine dropper full of water at the base of each plant. As soon as I see through the glass at the bottom that the sand is wet, I stop. Underwatered succulents tend to grow very little, which is a good thing because they don’t outgrow the container. You could never do this with most other plants, which, when given too little water, dry out and die.

For more about growing succulents in nondraining containers, see my video, Succulents in Silver (3:58).

What about rain?

Succulents do best in areas of winter rainfall that falls intermittently and doesn’t exceed 20 inches a year (of course there are exceptions). When rain threatens to be excessive, move potted succulents beneath your home’s eaves. Place patio umbrellas with concrete bases for stability in the garden to keep rain from soaking your in-ground succulents. Channel runoff away from garden beds. Move and replant succulents in low-lying areas where water puddles. Topdress the soil around the plants with several inches of pumice to absorb excess moisture.

See my videos, Why Rain is Good for Potted Succulents (0:53) and Post-Rain Must-Do’s for Succulent Gardens (3:51)

Overwatering concerns

The rule of thumb is to let the soil dry out (or nearly so) between waterings. An occasional overwatering won’t harm most succulents providing the soil is fast-draining. If water has collected in a pot saucer, remove it so roots don’t sit in water.

How to tell how much water a succulent needs

The fatter the succulent or the fleshier its leaves, the more water it stores in its tissues and the less water it needs (and will tolerate). Cacti in general are less tolerant of overwatering than smooth-leaved succulents. See my video, Why Succulents Rot and How to Prevent It (2:01).

The more susceptible a succulent is to rotting from excess moisture, the higher up it should go on a mound of soil.

The more susceptible a succulent is to rotting from excess moisture, the higher up it should go on a berm of mounded soil.

Also on this site:

See my article: Watch How You Water! How to water succulents during summer heat waves. 

The post How to Water Succulents appeared first on Succulents and Succulent Garden Design | Debra Lee Baldwin.


from Succulents and Succulent Garden Design | Debra Lee Baldwin https://ift.tt/2KZEB6o
via IFTTT